A 2026 map of 3D software: when to use Blender, Maya, 3ds Max, Cinema 4D, ZBrush, Houdini, Substance, and Plasticity
What eight widely used 3D programs are good at, their latest versions, how you pay for them (free, subscription, or perpetual), and which operating systems they run on, in one map and one table, plus what to pick when you are just starting.
한국어English
Based on: official pages, official help, and release notes for Blender 5.2 LTS, Maya 2027, 3ds Max 2027, Cinema 4D 2027.0, ZBrush 2027.0, Houdini 22, Substance 3D Painter 12.2, and Plasticity 26.2. Checked in November 2026. Images are real screenshots of each company's official pages and of Blender, plus a chart drawn from their official descriptions.
There are so many 3D programs that it is hard to know which one to install first. Every YouTube course seems to use a different one, and job ads list yet more names. Still, each program has a fairly clear job. Think of a kitchen: Blender is a whole kitchen with knives, pots, and an oven, while ZBrush or Substance 3D Painter is a special tool that does one thing very well.
This post shows on one map where eight widely used 3D programs fit in a 3D project. Then it lists each program's latest version, how you pay, and which operating systems it supports, and explains what to choose when you are just starting.
1. The short answer: start with Blender
If you are new to 3D, Blender alone is enough to start. There are three reasons.
- Blender is free and open source. You download it and use it. No account, no subscription.
- You can try every step, from modeling to animation, simulation, and rendering, in one program. That makes it a good way to learn the whole flow of 3D work.
- The ideas you learn there (points, edges, faces, materials, cameras, keyframes) carry over to other programs. Only the menu names change.
There are exceptions. If you already know the company or field you want to work in, it helps to learn the program that field uses as well.
| Field you want to work in | Program to learn alongside Blender | Why |
|---|---|---|
| Character animation at film or animation studios | Maya | Deep rigging and animation tools, long used in studio pipelines |
| Film visual effects (explosions, water, smoke) | Houdini | Widely used for building effects from node rules |
| Textures for game characters and props | Substance 3D Painter | A dedicated tool for painting game assets |
| Figures and character sculpting | ZBrush | A sculpting tool that handles millions of faces |
| Ads, broadcast graphics, motion graphics | Cinema 4D | Strong at making moving graphics quickly |
| Architectural visualization, product renders | 3ds Max | Long used for architecture and interior renders |
| Shapes with exact dimensions, like product design | Plasticity | Makes clean CAD-style curves and edges |
How to install Blender is covered in Blender beginner chapter 1: checking your PC, downloading, and installing. If you are worried about your computer, read Computer specs for AI, Blender, and game engines first.
2. One map: where each program is mainly used
3D work usually has six steps. You build the shape (modeling), sculpt the mass (sculpting), paint color and surface detail (texturing), add a skeleton and move it (rigging and animation), calculate effects like water, fire, or cloth (simulation), and finally output an image or video (rendering). The map below places the eight programs on these six steps.
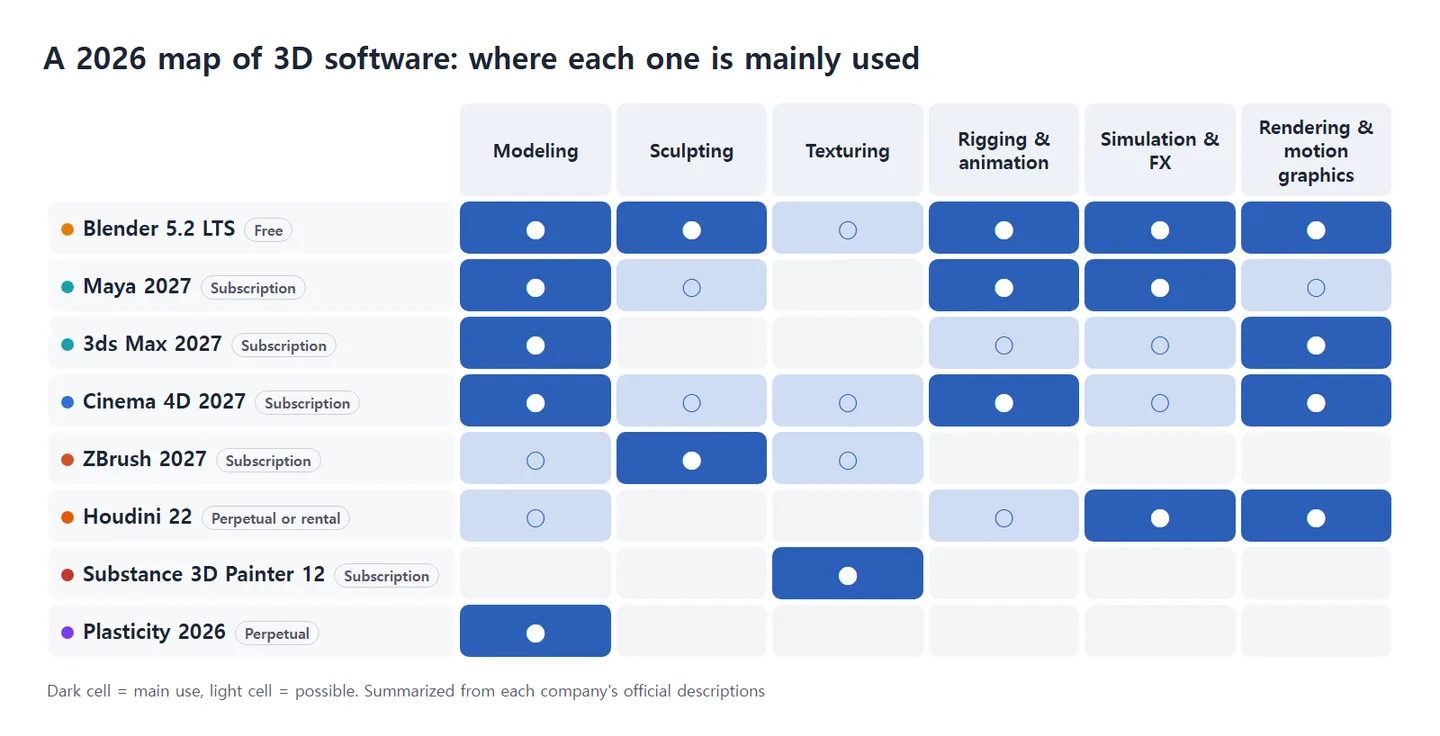 Figure 1. Rows are programs and columns are work steps. Dark cells (●) are main uses, light cells (○) are possible but not the main job, and the small tag next to each name is how you pay (chart)
In the chart, Plasticity 2026 means version 26.2. The Houdini tag leaves out the free Apprentice learning edition. The table in section 3 has more detail on pricing.
Here is how to read it. Follow one row and you see what that program is strong at. The Blender row is almost all dark. It is an all-rounder that takes you from start to finish. The Substance 3D Painter row has only one dark cell, texturing. It is a specialist that takes a model made elsewhere and paints its surface.
Follow one column and you see which programs you can pick for that step. Go down the "Simulation & FX" column and Blender, Maya, and Houdini are dark. If you want to go deep into effects, those three are your options. The dark and light cells are based on the features each company highlights in its official descriptions. They are not scores. A light cell still means the feature is there and usable.
3. Program cards
First, all eight in one table. "How you pay" is the payment model. A subscription means you pay every month or year and lose access when you stop. A perpetual license means you buy once and keep using it. In housing terms, a subscription is renting and a perpetual license is buying.
| Program | Made by | Latest version (checked Nov 2026) | Strong at | How you pay | Operating systems |
|---|---|---|---|---|---|
| Blender | Blender Foundation | 5.2 LTS | Everything (all-rounder) | Free, open source | Windows, macOS, Linux |
| Maya | Autodesk | 2027 (updates up to 2027.2) | Character rigging and animation, effects | Subscription | Check official requirements |
| 3ds Max | Autodesk | 2027 (updates up to 2027.2) | Modeling, architecture and product renders | Subscription | Check official requirements |
| Cinema 4D | Maxon | 2027.0 | Motion graphics, modeling and animation | Subscription | Windows, macOS |
| ZBrush | Maxon | 2027.0 | Digital sculpting | Subscription | Windows, macOS, iPadOS |
| Houdini | SideFX | 22 | Procedural effects and simulation | Free learning edition, perpetual, or rental | Windows, macOS (Apple silicon), Linux |
| Substance 3D Painter | Adobe | 12.2 | Painting textures on 3D models | Adobe subscription | Windows 11, macOS 15 or later, Linux |
| Plasticity | Plasticity | 26.2 | CAD-style hard-surface modeling | Perpetual license | Windows, macOS, Linux |
Each card below sums up what the program is good at, what is new in this version, and how you pay.
3-1. Blender 5.2 LTS: the free all-rounder
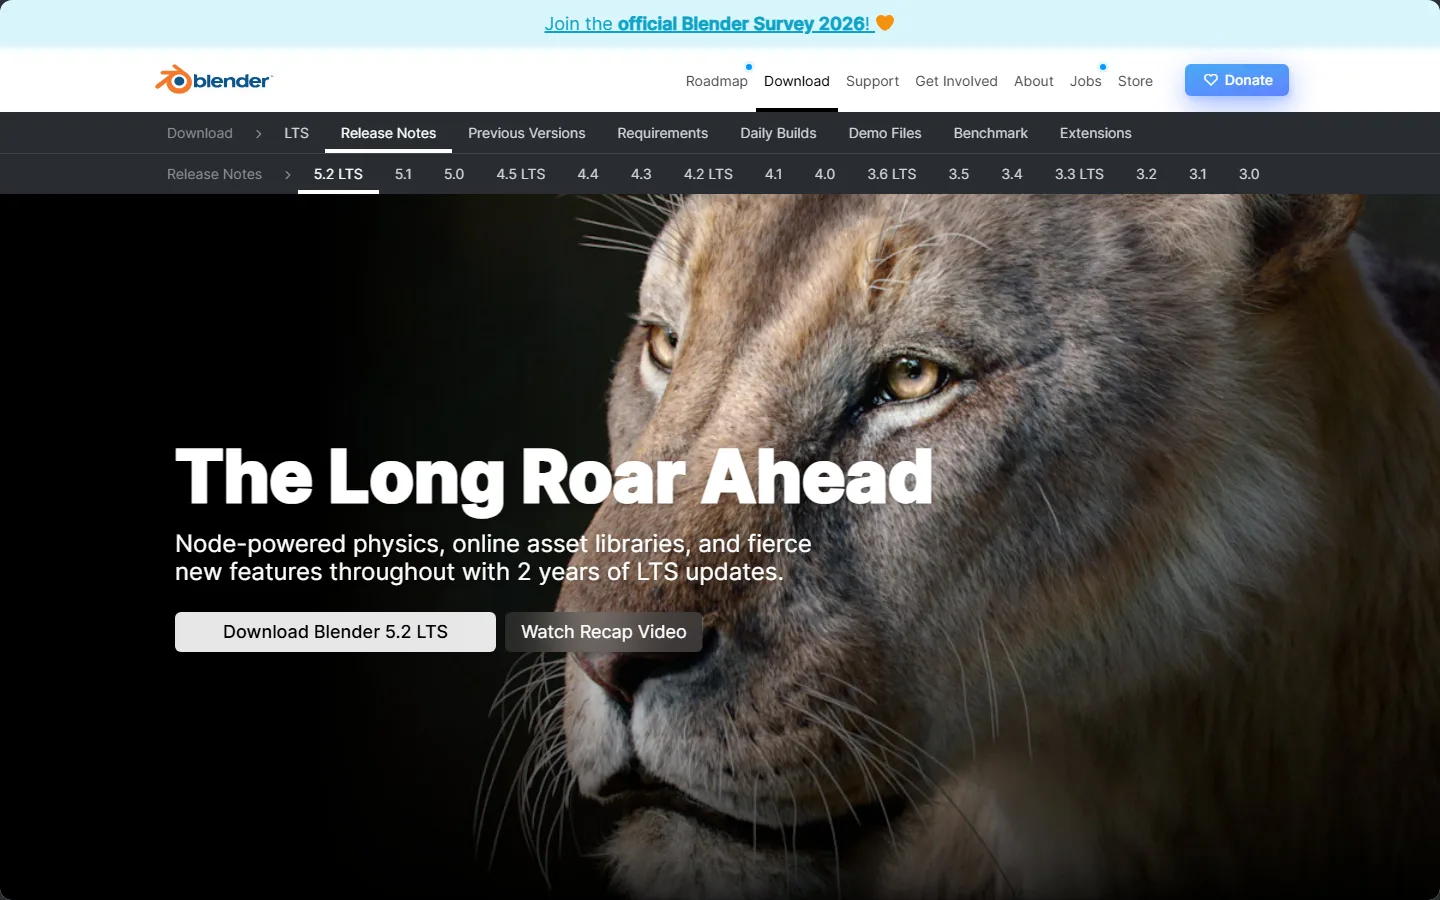 Figure 2. 5.2 LTS is selected in the version list at the top, and the middle shows the line that sums up this release and the download button (official Blender page screenshot)
Blender 5.2 is the LTS version released on July 14, 2026. LTS stands for Long Term Support. No new features are added, but bug fixes continue until July 2028. Menus change less than in regular versions, so the course you are following is less likely to look different from your screen.
As the line in the picture says, the big changes in 5.2 are node-based physics (cloth and hair), basic assets downloaded from the internet when you need them, and faster EEVEE in scenes with many instances. Trying the 5.2 changes yourself is covered in Blender 5.2 LTS hands-on. For the difference between the two render engines, EEVEE and Cycles, see Fast EEVEE, accurate Cycles.
3-2. Maya 2027: the long-time standard for character animation
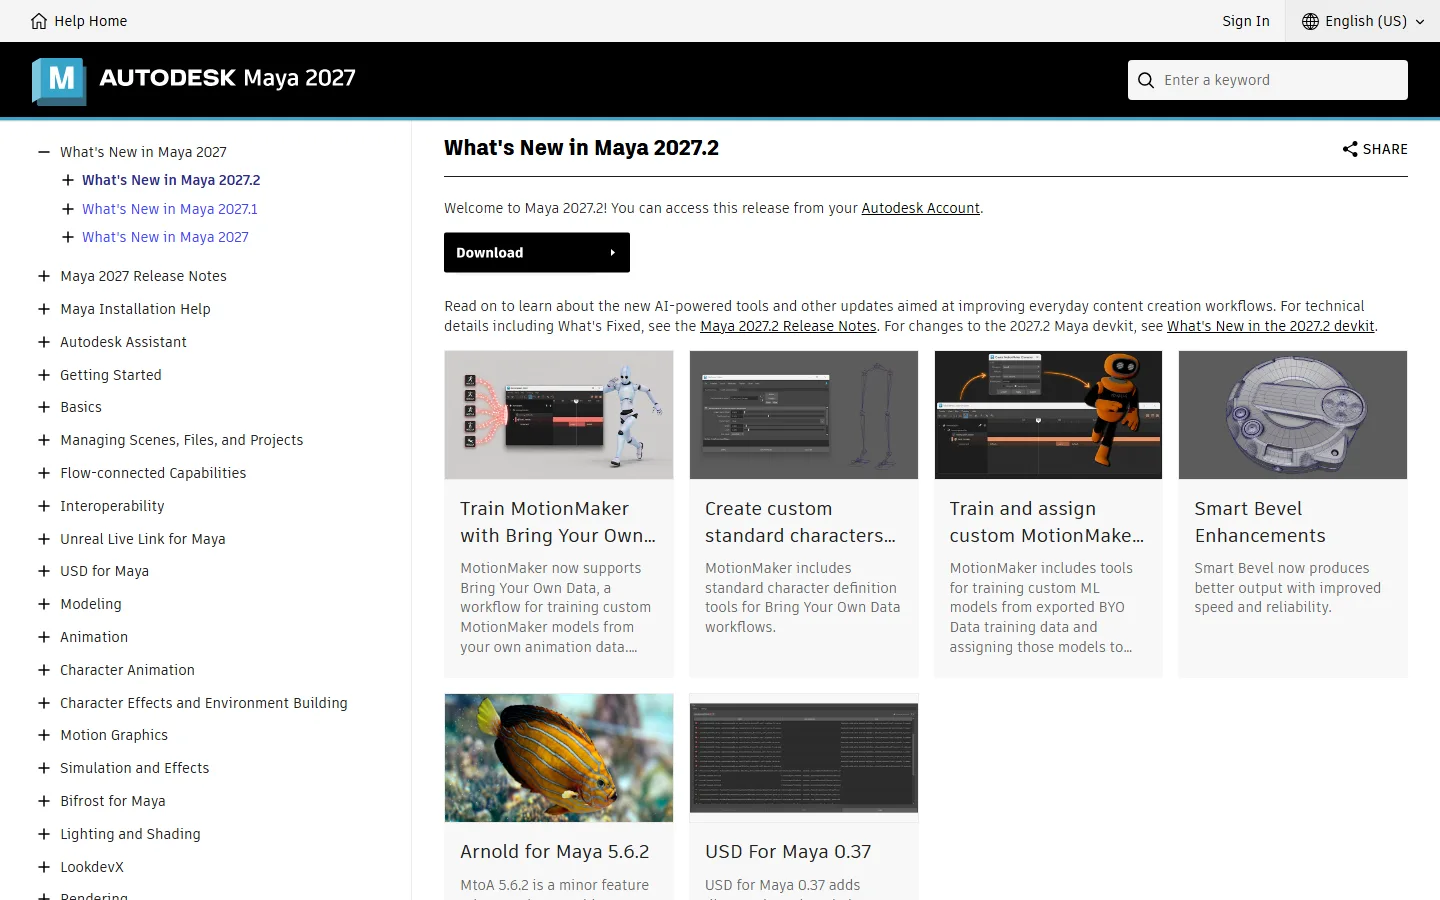 Figure 3. The left list has What's New pages for 2027.2, 2027.1, and 2027, and the right side has new feature cards for 2027.2 (MotionMaker training, Smart Bevel improvements) and a card for the bundled renderer, Arnold for Maya 5.6.2 (Autodesk official help screenshot)
Maya has long been used at film and animation studios to rig and animate characters. Version 2027 came out in March 2026 (reported), and as the list on the left shows, updates 2027.1 and 2027.2 followed.
Notable things in 2027:
- MotionMaker: An AI tool that creates motion such as walking and running. 2027 added a horse character, and 2027.2 lets you train your own motion models on your own animation data.
- Skin Tools: Tools for skinning, which decides how the skin stretches with the bones, organized into layers.
- Smart Bevel: A new tool for rounding off edges.
- Autodesk Assistant (tech preview): An AI helper you can ask about features and workflows inside the program.
Maya is an Autodesk subscription. There is also an Indie edition for individuals with low revenue, but check the conditions and price on Autodesk's official pages.
3-3. 3ds Max 2027: architecture and product renders, and modeling
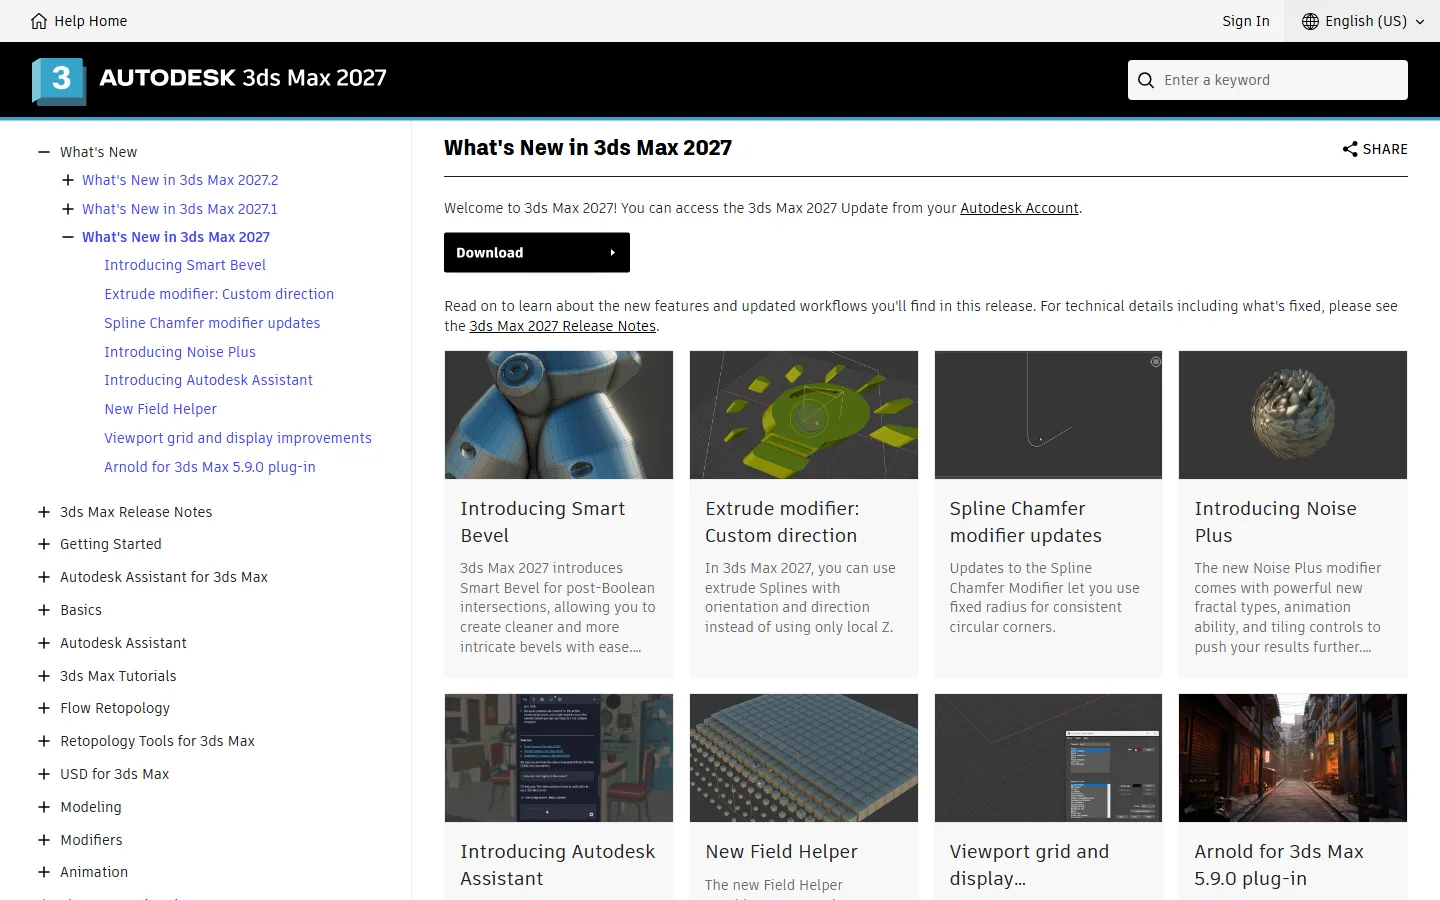 Figure 4. The left list has What's New pages for 2027.2, 2027.1, and 2027, and the right side has new feature cards for 2027 (Smart Bevel, Noise Plus, and more) (Autodesk official help screenshot)
3ds Max is also from Autodesk, but it is used a little differently. It has a long history in architectural and interior visualization, product renders, and game prop modeling. Like Maya, version 2027 came out in March 2026 according to news reports, and 2027.1 and 2027.2 appear in the official help list.
Most of the new feature cards in 2027 are about modeling. Smart Bevel cleanly rounds edges left by Boolean operations (adding and subtracting objects from each other), and Noise Plus is a new modifier for bumpy surfaces. The same page also says old DirectX 9 support was removed. If you use a Mac, check the supported operating systems on Autodesk's official system requirements page before installing.
3-4. Cinema 4D 2027.0: motion graphics
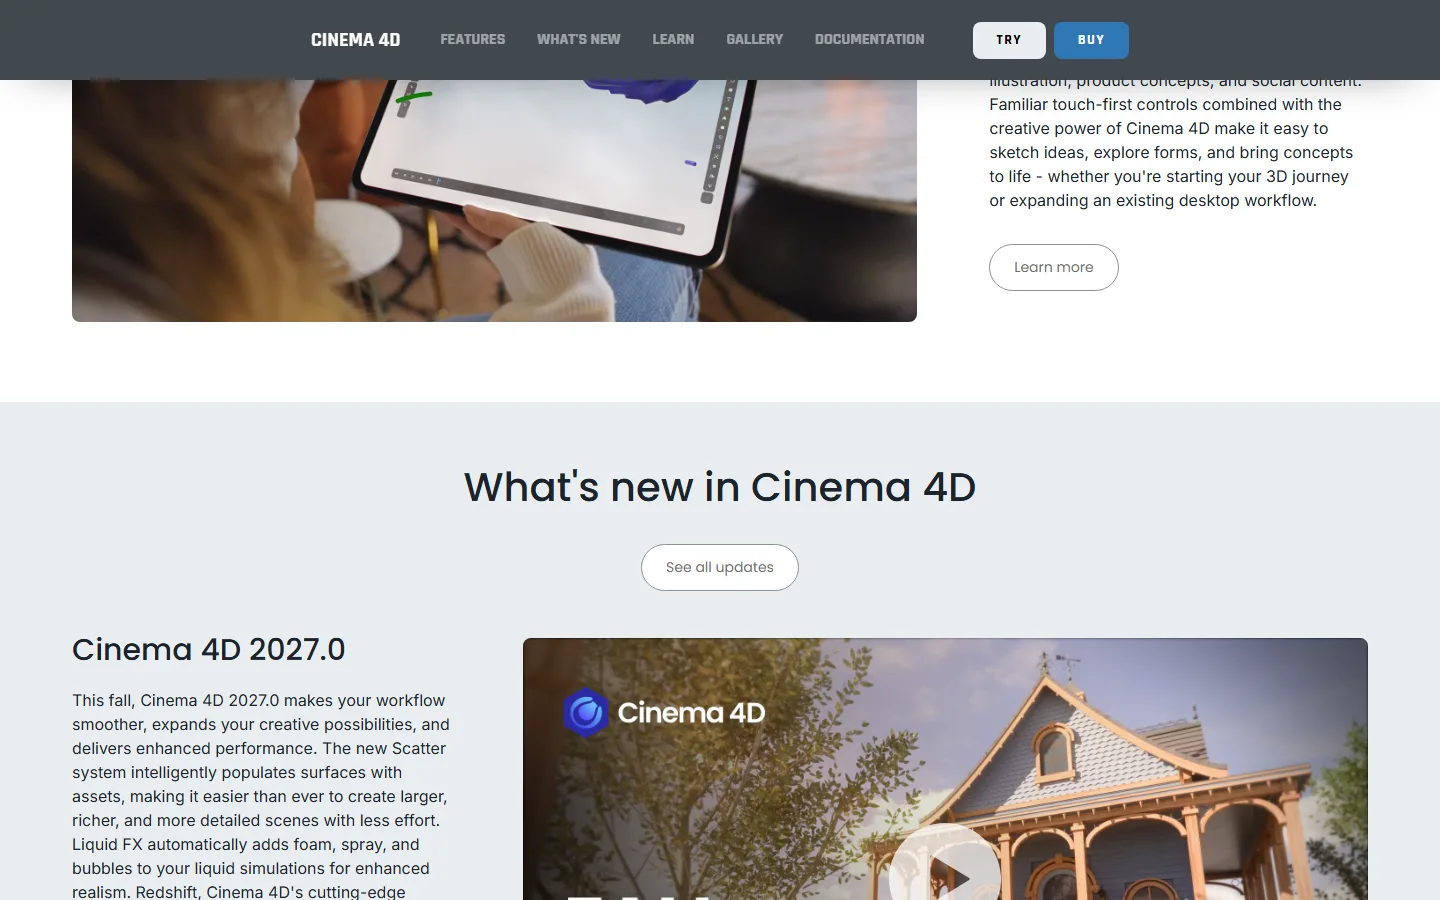 Figure 5. The top left has the latest version name, Cinema 4D 2027.0, and the paragraph on new features (Scatter, Liquid FX), and the right side has the intro video (Maxon official page screenshot)
Cinema 4D is widely used for moving graphics in ads, broadcast, and music videos (motion graphics). As the paragraph in the picture says, 2027.0 adds a Scatter system that spreads objects over surfaces automatically and Liquid FX, which adds foam and spray to water simulations automatically. The same page lists an MCP server as new, which lets AI assistants operate Cinema 4D's tools. MCP is a standard for connecting AI to programs. See What is MCP for the idea.
Reports put the release of 2027.0 on October 14, 2026. It is a Maxon subscription, and the Redshift renderer is included. There is a 14-day free trial, and it runs on Windows and macOS.
3-5. ZBrush 2027.0: digital sculpting
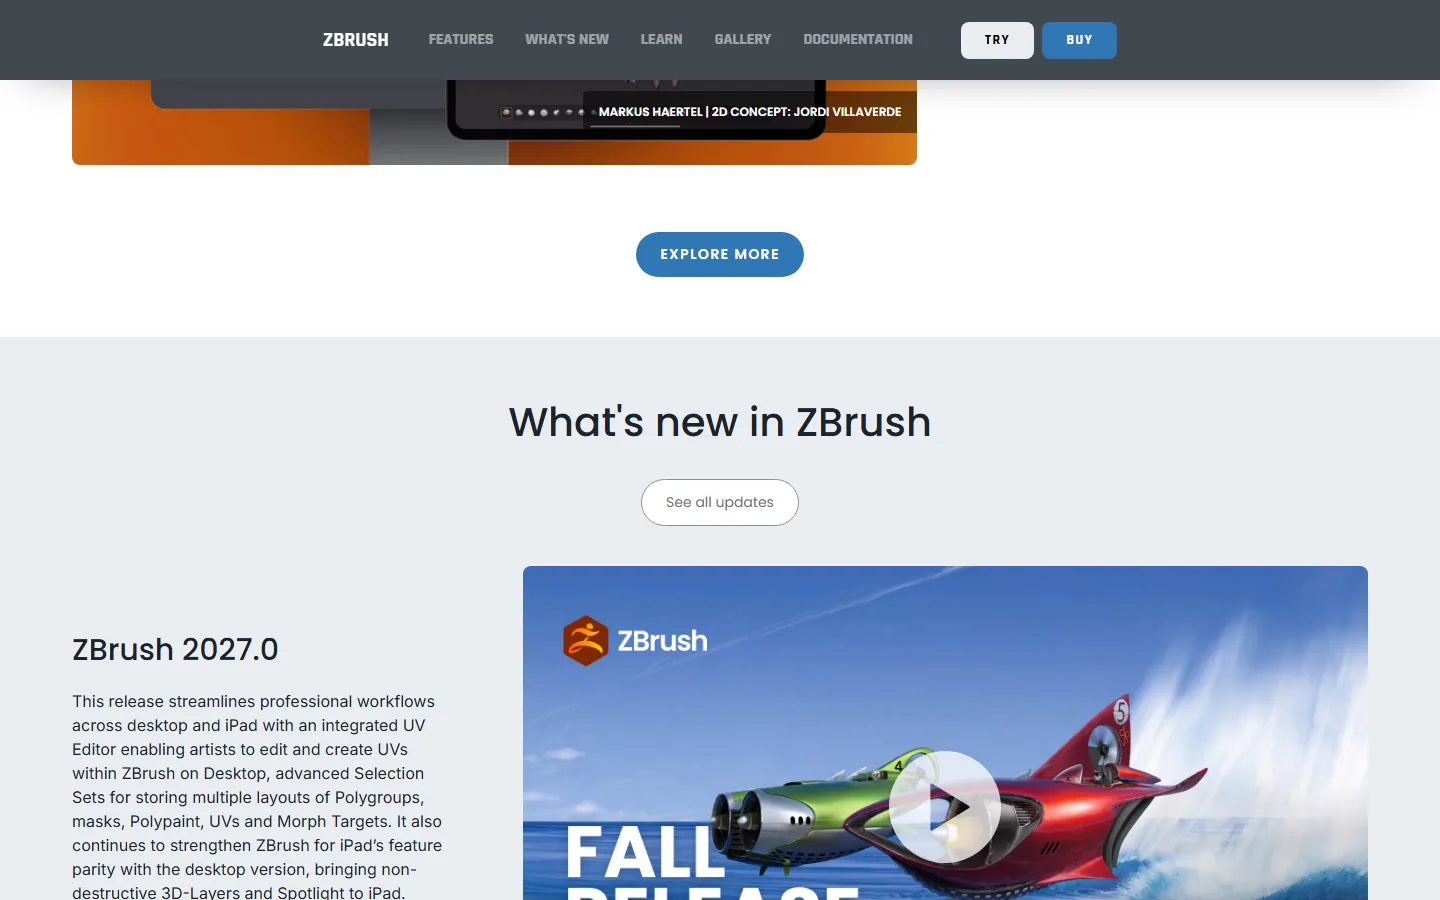 Figure 6. The left side has the latest version name, ZBrush 2027.0, and the paragraph on new features (UV Editor, Selection Sets, iPad features) (Maxon official page screenshot)
ZBrush lets you sculpt a mass as if you were shaping clay. It is often used to make figures and high-resolution source models for game and film characters. Version 2027.0 came out the same day as Cinema 4D (October 14, 2026, according to news reports). As the paragraph says, it adds a UV Editor for unwrapping and fixing UVs right inside ZBrush. UVs are a map that flattens a 3D surface like paper so you can put a picture on it. See UV unwrapping for how it works.
ZBrush runs on Windows and macOS, and on the iPad as well. One subscription covers both desktop and iPad. Blender has a Sculpt mode too, so a sensible order is to try sculpting in Blender first and look at ZBrush when you want to go further.
3-6. Houdini 22: procedural effects and simulation
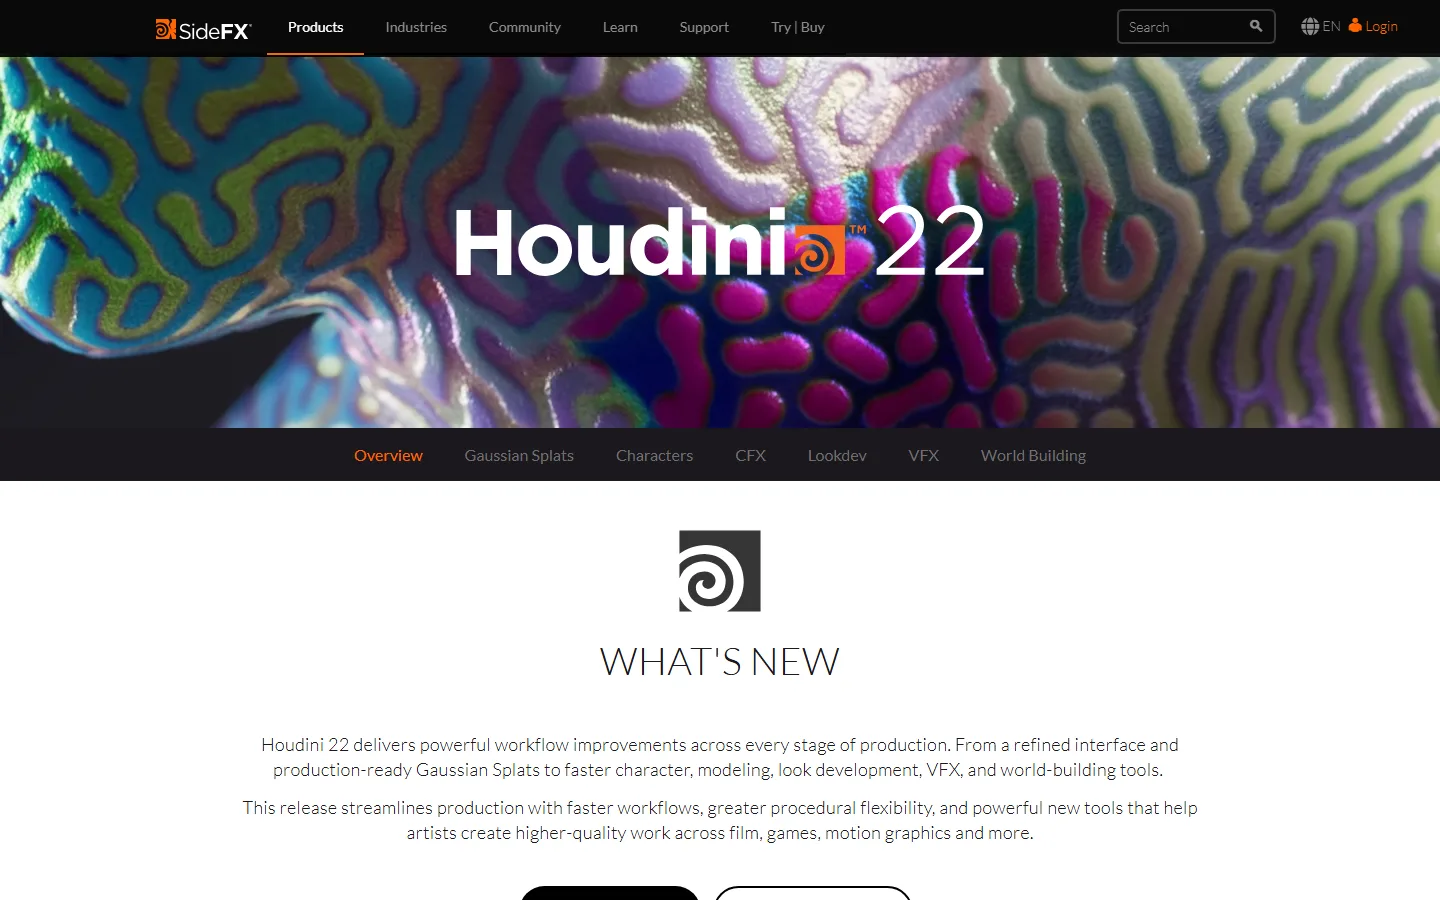 Figure 7. The version name, Houdini 22, is in the middle, with the menu of new feature areas (Gaussian Splats, Characters, VFX, and more) and the WHAT'S NEW introduction below it (SideFX official page screenshot)
In Houdini, you build everything with nodes, boxes joined by lines that form a set of rules. This is called a procedural workflow. It is like writing down a recipe: change the ingredients and the same dish comes out again. That is why Houdini is strong at effects that repeat the same rules on a large scale, such as explosions, waves, and collapsing buildings. Blender's Geometry Nodes follow the same idea (Blender Geometry Nodes for beginners).
Houdini 22 came out in July 2026 (reported). As the menu in the picture shows, it adds major Gaussian splat tools (a technique that rebuilds a scene from many photos as small blobs of points), along with changes to character, effects, and terrain tools. Houdini stands out for its many ways to pay. Apprentice, for learning, is free. Indie is for individuals and small teams with annual revenue under 100,000 US dollars. Studios choose between perpetual licenses and rental licenses.
3-7. Substance 3D Painter 12.2: painting textures
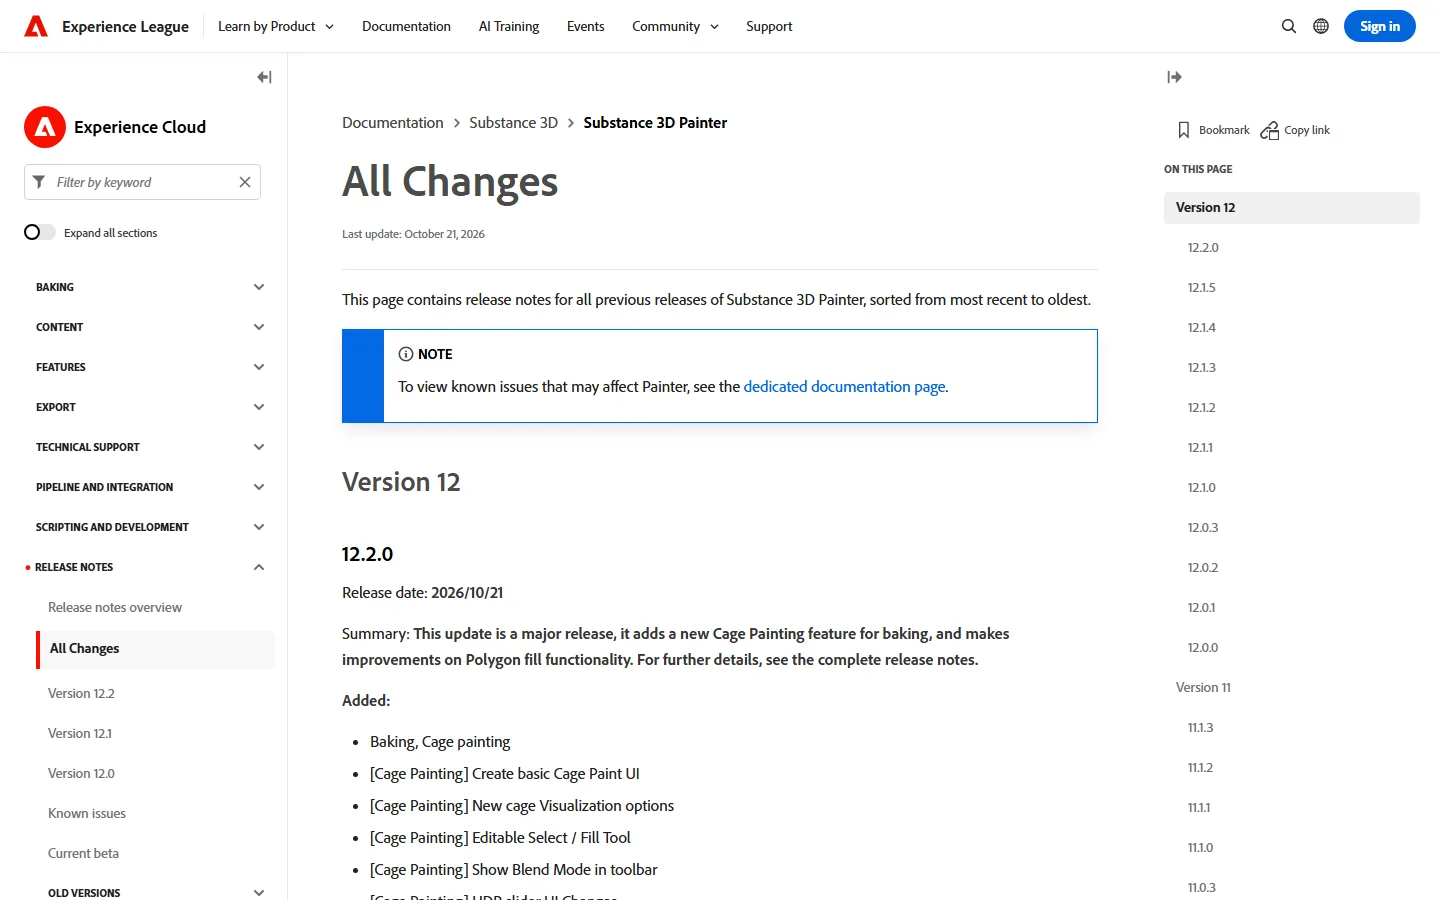 Figure 8. The middle has the latest version, 12.2.0, the release date line, and the list of new Cage painting features, with the version list on the right (Adobe official documentation screenshot)
Substance 3D Painter loads a model made in another program and lets you brush on surface detail such as rust, scratches, and dirt. It is especially common in game asset work. What metal and roughness values mean is covered in PBR materials.
According to the official release notes, 12.1.0 came out on June 23, 2026, and 12.2.0 on October 21, 2026. 12.1 added Auto rebake, which redoes baking automatically when the model changes, and the OpenPBR material model. 12.2 added Cage painting, which lets you fix the baking cage with a brush. It is an Adobe Substance 3D subscription.
3-8. Plasticity 26.2: CAD-style modeling with no subscription
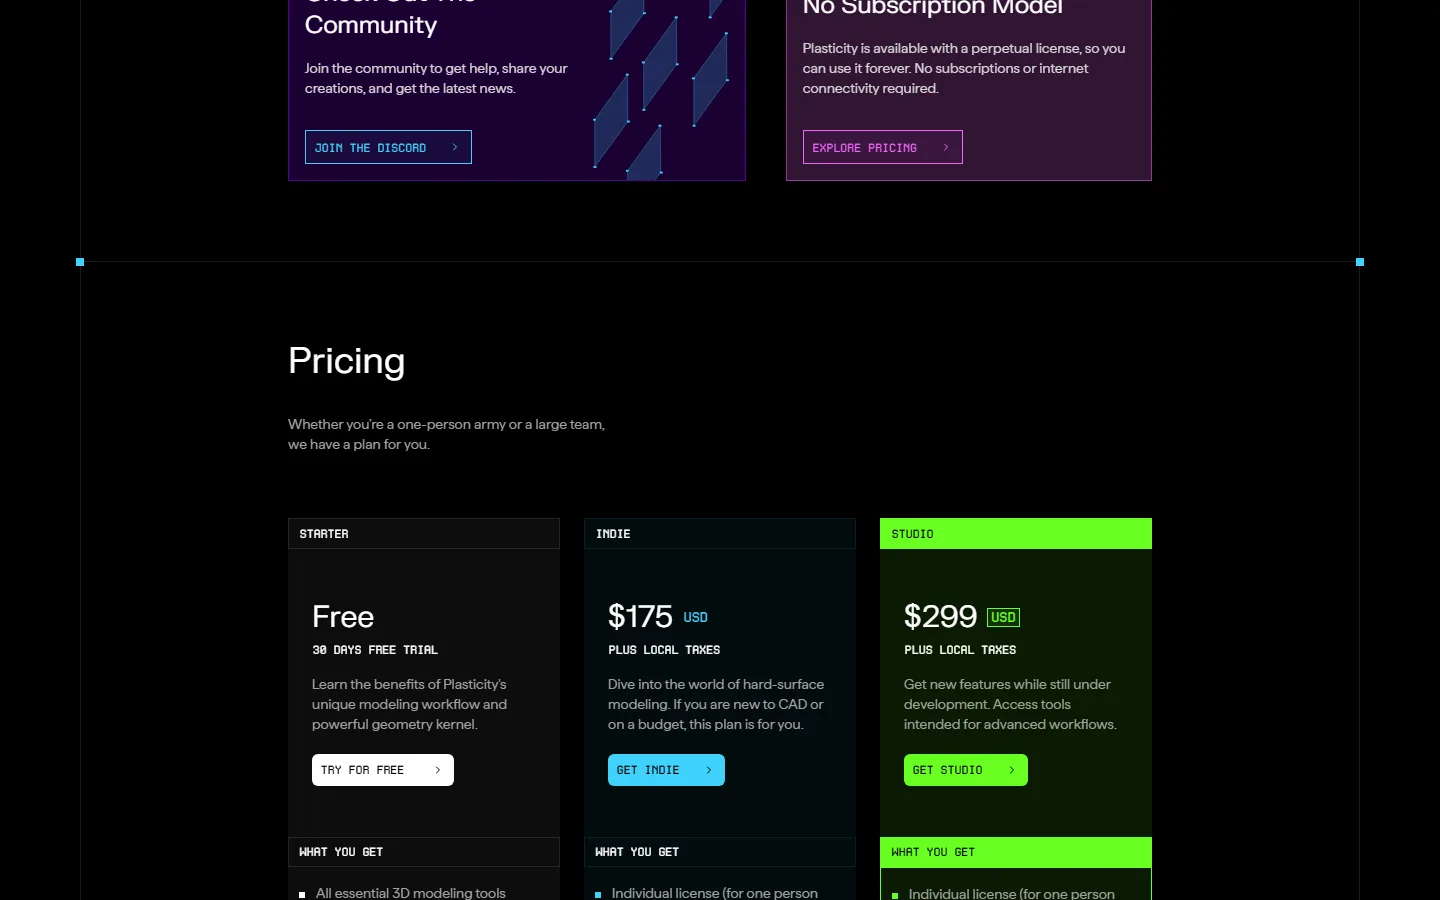 Figure 9. A "No Subscription Model" note at the top, and three columns below, from left: the free Starter trial (30 days), Indie at 175 US dollars, and Studio at 299 US dollars (Plasticity official page screenshot)
Plasticity is a modeling program that makes exact curved surfaces and rounded edges (fillets), like CAD software for product design. It builds shapes from mathematical surfaces instead of polygons (small flat faces), so it is good for clean machine parts and hard-surface props. See Polygons and topology for what polygons are.
The download on the official site is version 26.2.3. As the picture shows, it is the only program in this post with no subscription. Indie costs 175 US dollars and Studio 299 US dollars (plus tax). You buy once, keep using it, and get new versions for 12 months. The official page says even the Indie edition includes a Blender bridge for sending models back and forth. The free Starter edition is a 30-day trial and cannot be used commercially.
4. Moving files between programs
In real work you rarely use just one program. You might shape a model in Plasticity, set up the scene in Blender, and paint it in Substance 3D Painter. The "shared shipping box" that moves work between programs is the file format.
| Format | Typical use |
|---|---|
| FBX | Sending animated characters to Maya, 3ds Max, or a game engine |
| glTF (.glb) | Sending a model with its materials in one file to the web or a game engine such as Godot |
| USD | Large scenes that many people and programs work on together |
| OBJ, STL | Sending shape only, or sending to a 3D printer |
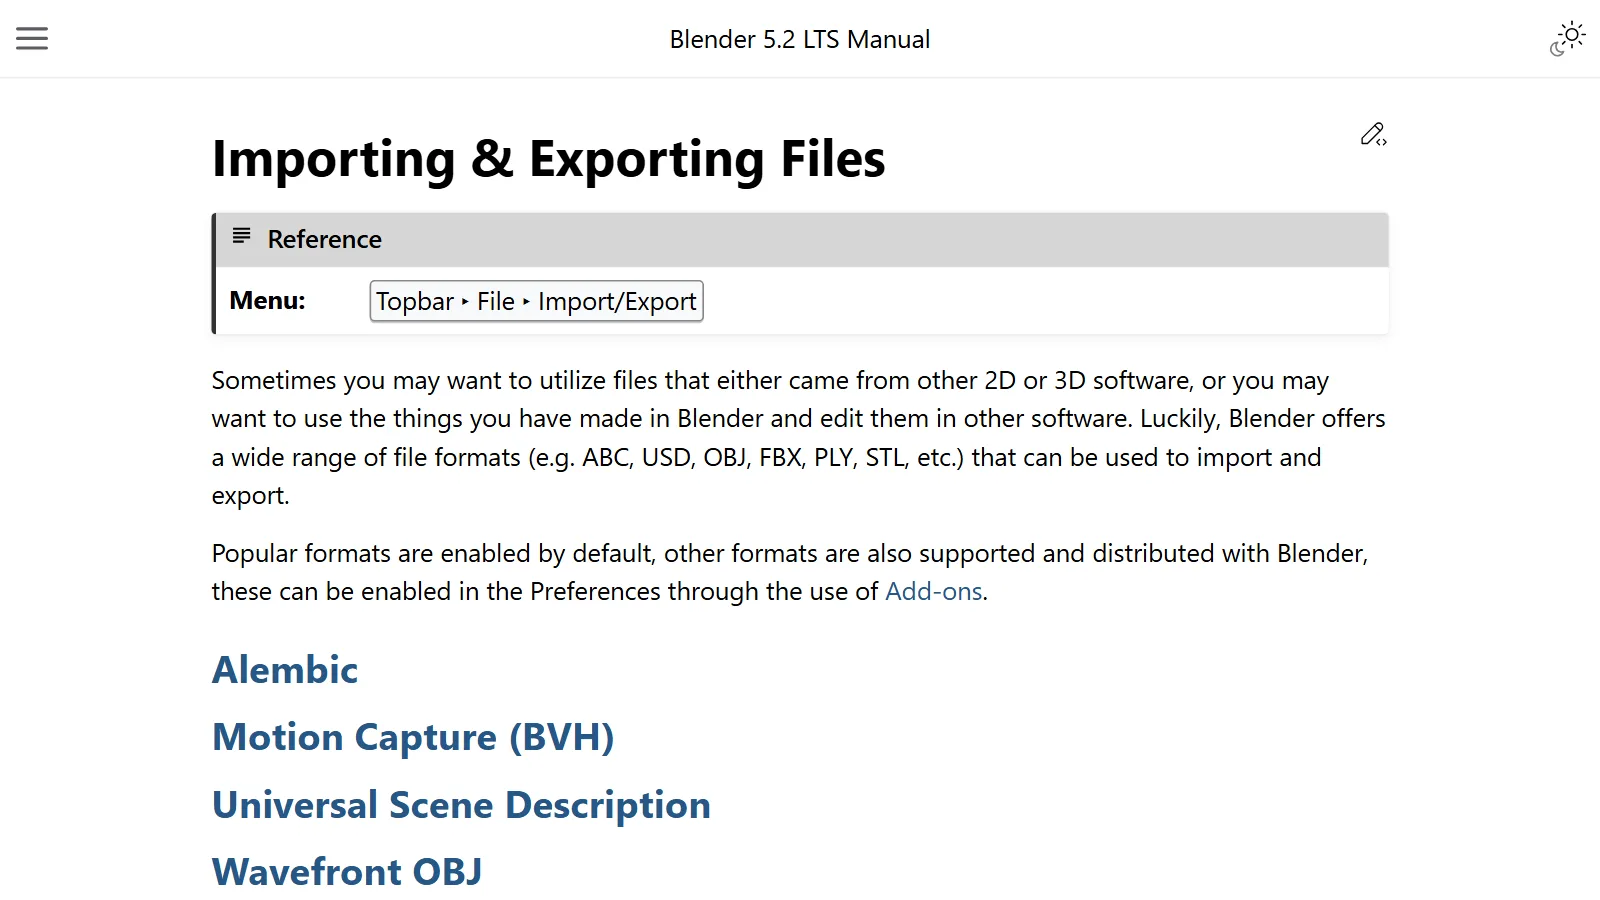
In Blender you pick the format from the File > Export menu.
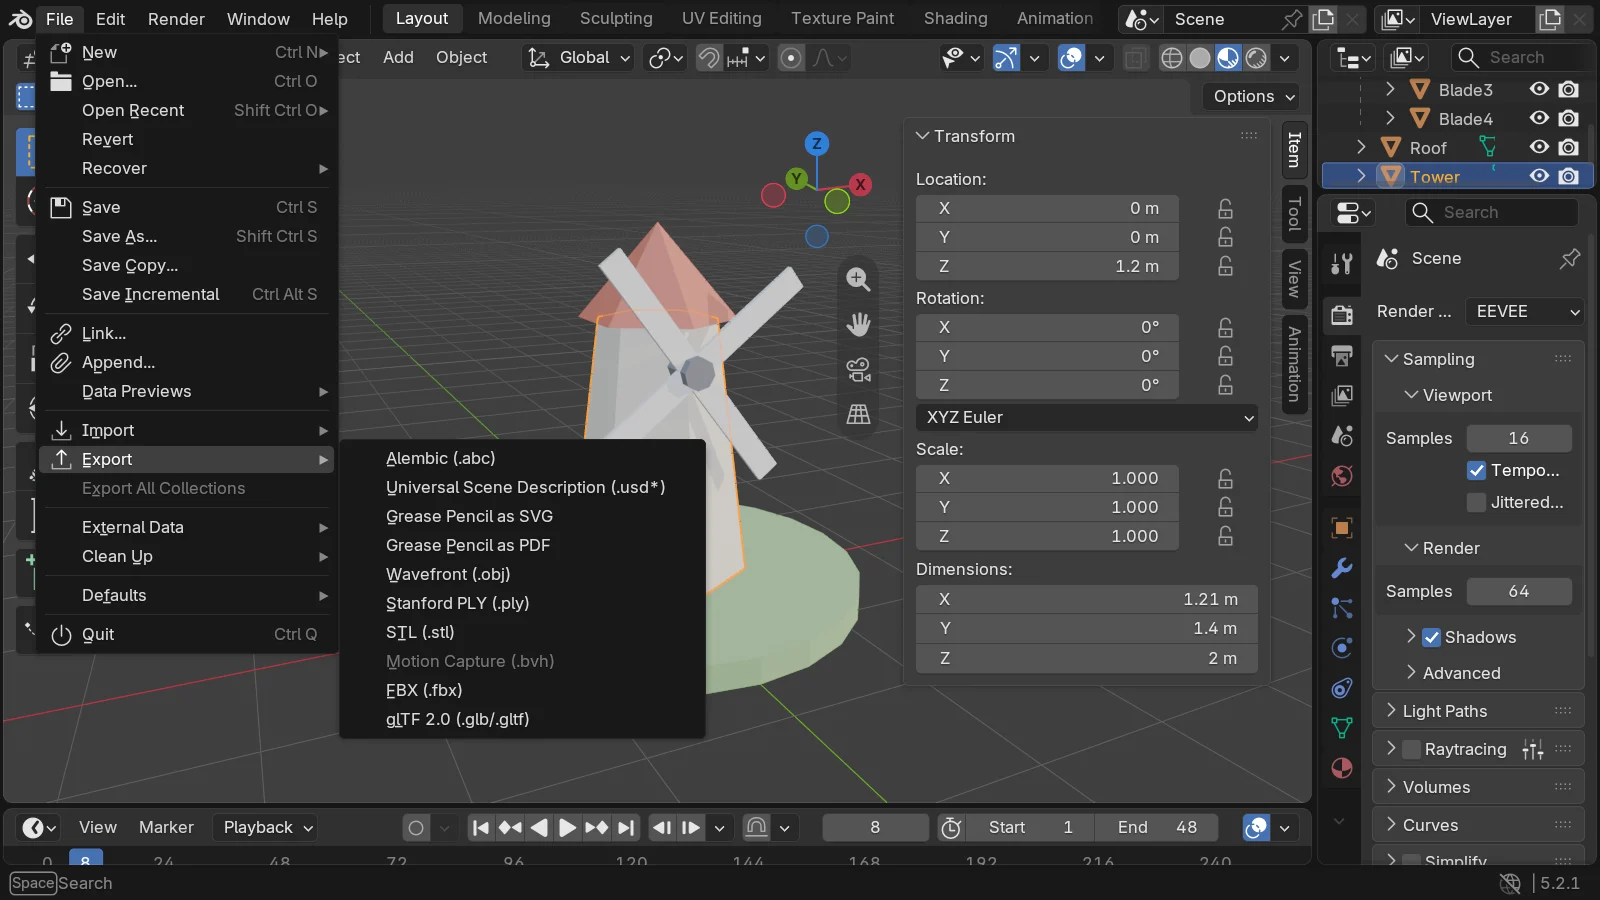 Figure 10. The File > Export submenu in Blender 5.2.1. FBX, glTF, USD, OBJ, and STL from the table above are all here (Blender screenshot)
Follow along: In Blender, click File in the top menu and move the mouse over Export. Pick the format that fits where the file is going from the list that opens on the right. Use glTF 2.0 for a game engine, FBX for an animated character going to another 3D program, and STL for a 3D printer. What each format keeps and drops is covered in 3D file formats compared: FBX, glTF, OBJ, USD. To actually move a Blender model into a game engine, follow From Blender to Godot 4.7 with glTF.
5. Where to check student and indie licenses
Even paid programs have cheaper or free editions for students or individuals with low revenue. Conditions and prices change often, so it is better to know where to check than to memorize numbers.
| Program | Where to check | Note |
|---|---|---|
| Maya, 3ds Max | Autodesk education page, Indie page | Check student and school conditions and Indie conditions separately |
| Cinema 4D, ZBrush | Maxon buy page, education page | 14-day free trial |
| Houdini | SideFX buy page | Apprentice is free, Indie is for annual revenue under 100,000 US dollars |
| Substance 3D Painter | Adobe Substance 3D plans page | Check student and education conditions on the plans page |
| Plasticity | Official Plasticity site | Apply by email for the free non-commercial academic license |
Work made with education editions usually cannot be used for paid jobs. If you plan to sell your work or take freelance jobs later, check the terms from the start to see whether the edition allows commercial use.
6. Common mistakes when choosing
| Symptom | Cause | Fix |
|---|---|---|
| I installed several programs and none of them feels familiar | Adding tools before learning the basics | Finish one small piece in Blender, then look at other programs |
| My menus look different from the course | The course and your program are different versions | Check which version the course uses, and learn on an LTS version at first |
| My trial ended and I cannot open my files | Not checking subscription or trial periods | Do not start big projects on a trial. Also save in-progress work as FBX or glTF |
| I tried to sell something made with an education edition and got stuck | Education editions often ban commercial use | Check the conditions for commercial editions (such as Indie) first |
| A model moved to another program is 100 times too big or lying on its side | Programs use different units and up axes | Check the unit and axis options in the export window |
7. In one line
If you are new, learn the whole flow in Blender, the free all-rounder, and once you know your field, add its specialist program (Maya for animation, Houdini for effects, ZBrush for sculpting, Substance 3D Painter for textures).
This map will be updated as new versions come out. For your next read, try Blender 5.2 LTS hands-on. For what to prepare before your first piece, see Five things to sort out before your first 3D project.
References
- Blender 5.2 LTS release notes
- What's New in Maya 2027 (Autodesk help)
- What's New in 3ds Max 2027 (Autodesk help)
- Cinema 4D (Maxon)
- ZBrush (Maxon)
- What's New in Houdini 22 (SideFX)
- Buy Houdini (SideFX)
- Substance 3D Painter All Changes (Adobe)
- Plasticity official site
- Houdini system requirements (SideFX)
- Substance 3D Painter supported systems (Adobe)
- Maya system requirements (Autodesk)
- Images: screenshots of each company's official pages (copyright belongs to each company); the map chart was drawn by AZTechnology