Where to get free assets and textures for Blender: Poly Haven, ambientCG, Blender's online assets, and how to read licenses
Three places to get free textures, HDRIs and 3D models for Blender (Poly Haven, ambientCG and the online Essentials in Blender 5.2), checked against their official license wording, plus how to read license names like CC0, CC BY and non-commercial, and how to keep a record of where each file came from.
한국어English
Based on: the Blender 5.2 LTS manual and release page, and the official license pages of Poly Haven and ambientCG. Checked on November 4, 2026. Images are real screenshots of each site and of Blender 5.2.1.
As you build scenes in Blender you soon need surfaces: a brick wall, a wooden floor, rusty metal. Painting these from scratch takes a long time. Luckily, some sites give away high-quality photo-based textures, 360° sky photos (HDRIs) and 3D models for free.
But "free" is not always the same free. Some require credit, and some must not be used in work that earns money. This guide covers three free libraries you can trust, and how to read the license before you download.
By the end of this guide you can:
- Read license names like CC0, CC BY and non-commercial (NC), and tell what each allows.
- Download textures from Poly Haven and ambientCG.
- Find where to turn on the online Essentials in Blender 5.2.
- Keep a record of the source and license of what you downloaded.
1. Assets and textures
An asset is a ready-made ingredient you bring into your work: 3D models, materials, textures, HDRIs, brushes and node groups are all assets. In cooking terms, they are prepared ingredients you buy instead of growing yourself.
A texture is an image wrapped onto an object's surface. It is usually not a single color image but a set:
| Map | What it does |
|---|---|
| Color (Base Color) | The surface color |
| Roughness | How shiny or rough the surface is |
| Normal | Fakes small bumps by changing how light hits the surface |
| Displacement | Actually raises and lowers the surface |
This set is called a PBR texture. What each map does is explained in PBR materials.
2. Read the license first
A license says how far you may use something. It is like the note attached to a borrowed item. The names you will see most on free assets are Creative Commons (CC) licenses.
| Label | Meaning | Paid work | Credit |
|---|---|---|---|
| CC0 | Rights given up (close to public domain) | Yes | Not needed |
| CC BY | Free to use if you give credit | Yes | Needed |
| CC BY-SA | Credit + share changes under the same license | Yes | Needed |
| CC BY-NC | Credit + non-commercial only | No | Needed |
| CC BY-ND | Credit + no changes | Yes | Needed |
| Store license | Terms set by the store or creator | As stated | As stated |
Read the letters as parts: BY means "give credit", NC "non-commercial", ND "no derivatives", SA "share alike". If you plan to use an asset where money changes hands (a monetized YouTube video, an ad, a game you sell), avoid anything marked NC. CC0 is the easiest: no credit needed, and commercial use is fine.
3. Poly Haven: textures, HDRIs and models, all CC0
Poly Haven gives away textures, HDRIs and 3D models for free. Its textures page shows categories such as asphalt, brick, concrete, ground, metal, stone and wood (Figure 1).
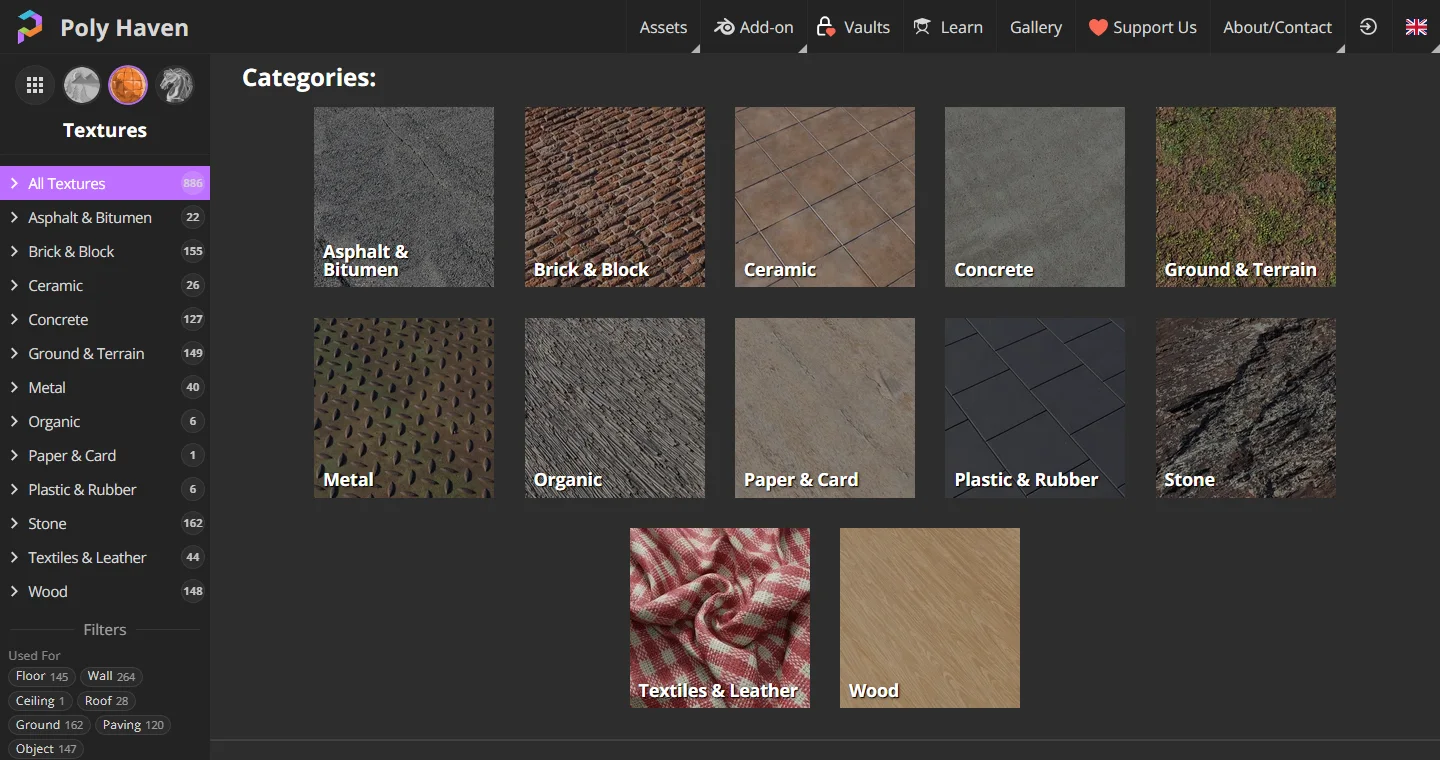 Figure 1. Poly Haven texture categories (Poly Haven screenshot)
The license page (Figure 2) says every asset on the site is CC0. In short:
- You can use them for any purpose, including commercial work.
- You do not need to give credit, though it is appreciated.
- You may redistribute them with your work, even inside a product you sell.
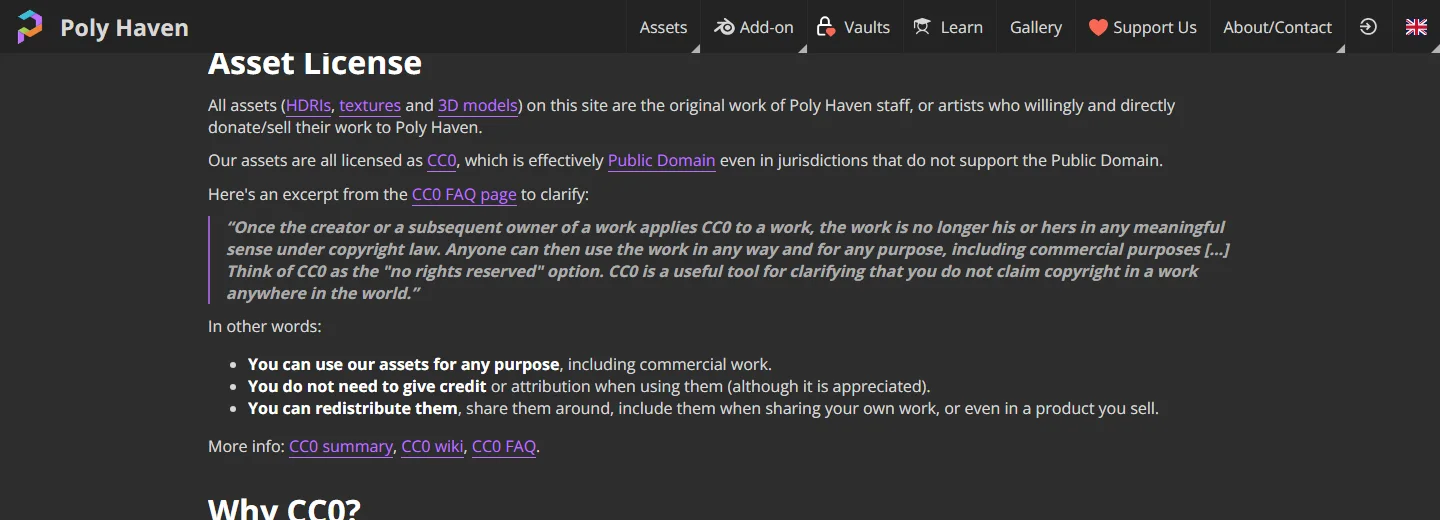 Figure 2. Poly Haven's license page (Poly Haven screenshot)
Note that CC0 applies to the assets. The site's terms say other content, such as logos, site text and gallery renders, needs separate permission. Use the textures freely, but don't present the site's screens or logo as your own work.
Follow along (based on the Poly Haven site):
- On polyhaven.com, click Textures and pick a category (for example Wood).
- Click a texture you like to open its page.
- At the top right, pick a resolution (1K, 2K, 4K…) and a file format, then click Download.
Start at 2K. Only objects seen large and close need 4K or more. Doubling the resolution makes four times as many pixels, so files and render memory grow fast. Downloading a Poly Haven HDRI and lighting a Blender scene with it is shown step by step in HDRI world lighting.
4. ambientCG: a CC0 material library
ambientCG is another large library of textures (materials). Its license page (Figure 3) says all assets are CC0 1.0, may be copied, changed and shared, even for commercial purposes, without asking, and that credit is not required.
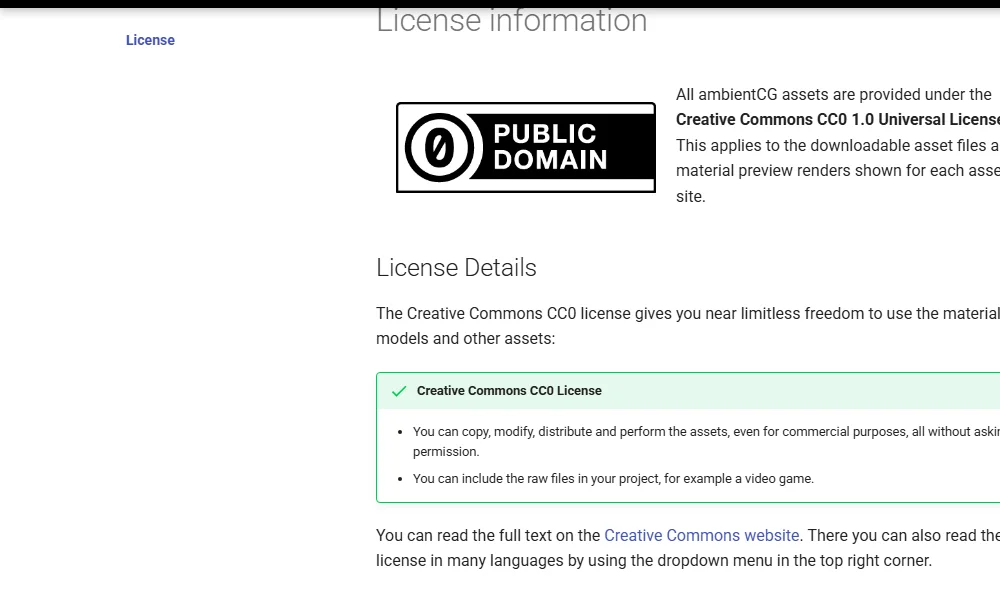 Figure 3. ambientCG's license page (ambientCG docs screenshot)
Both sites are CC0, so you can mix them without license worries. The same "concrete" can look quite different depending on where and how it was captured, so browse both and choose what fits your scene.
5. Free assets inside Blender: the 5.2 online Essentials
Blender already has assets inside. Essentials is the asset library that ships with Blender. From 5.2, it also includes assets hosted online. The 5.2 release page says dozens of materials, compositing effects, HDR world backgrounds and Geometry Nodes setups were added online, ready to download when needed, so Blender itself did not get bigger (Figure 4).
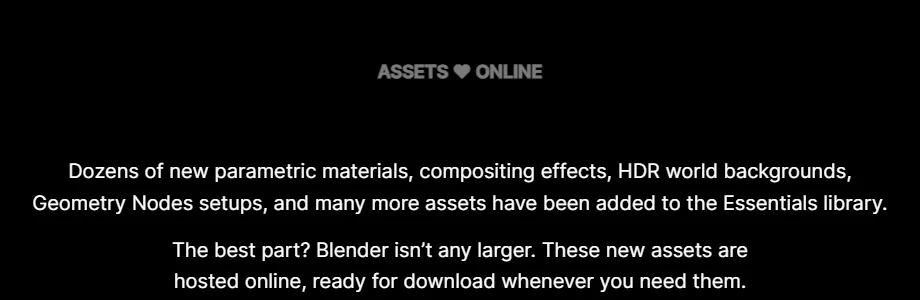 Figure 4. The online assets section of the Blender 5.2 release page (blender.org screenshot)
To use online assets you must allow Blender to go online. It is off when you first start, like turning off airplane mode before Wi-Fi works.
Follow along (based on the Blender 5.2 manual):
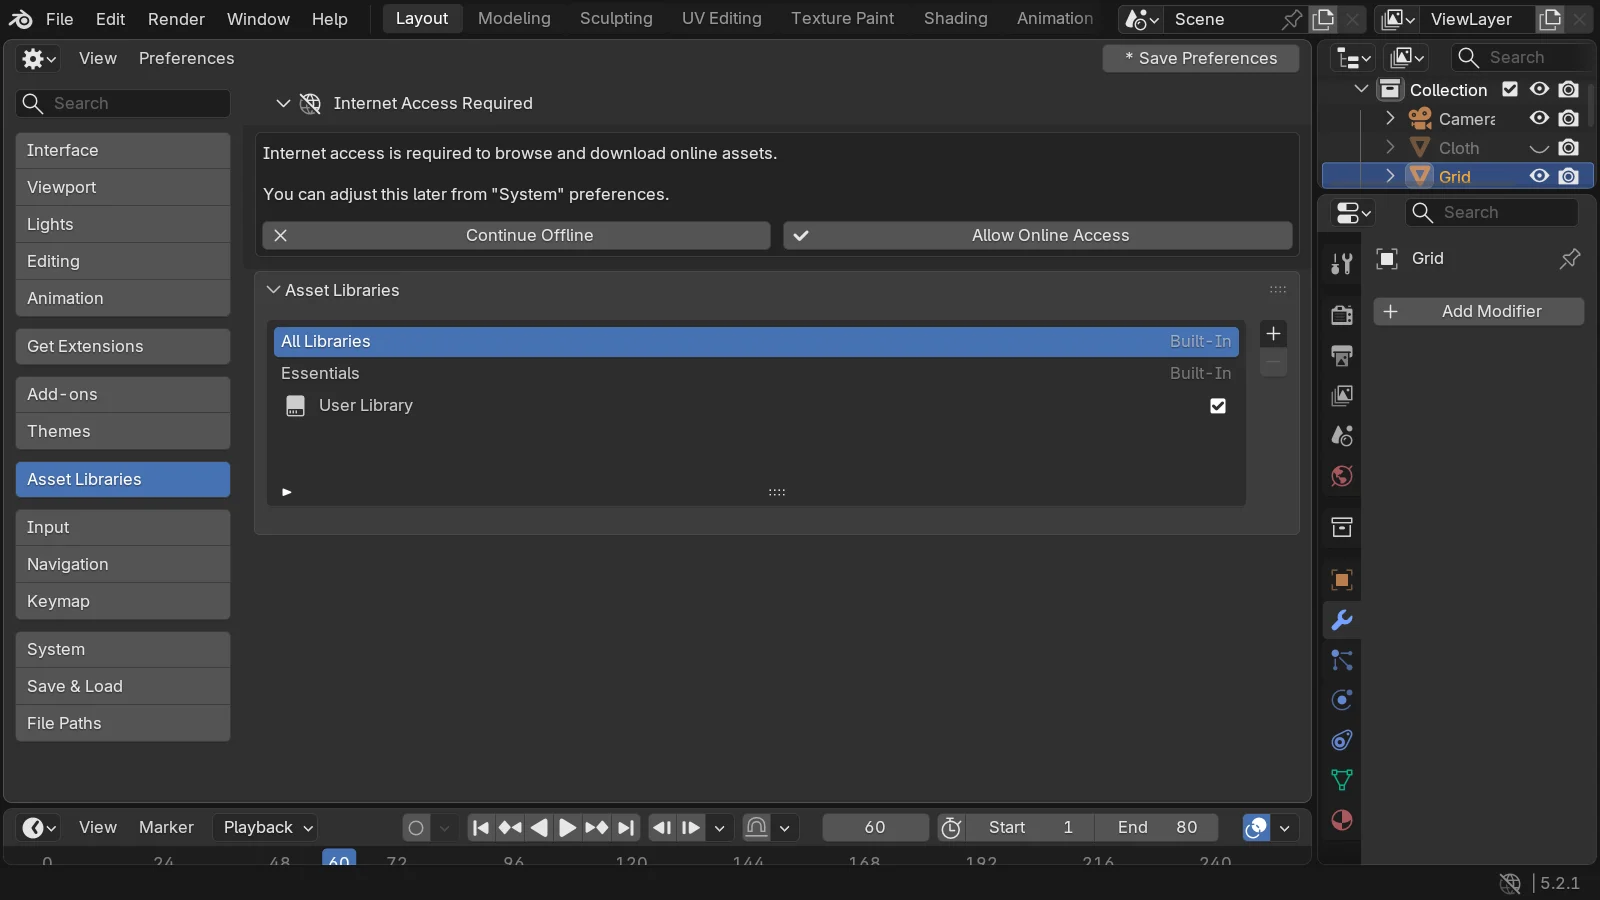
- Open Edit > Preferences and click Asset Libraries on the left.
- If an Internet Access Required box appears at the top, click Allow Online Access (Figure 5).
- Select Essentials in the list and check that Include Online Essentials below it is on (Figure 6).
- Open the Essentials library in the 3D Viewport or the Asset Browser, and the online assets appear with the built-in ones.
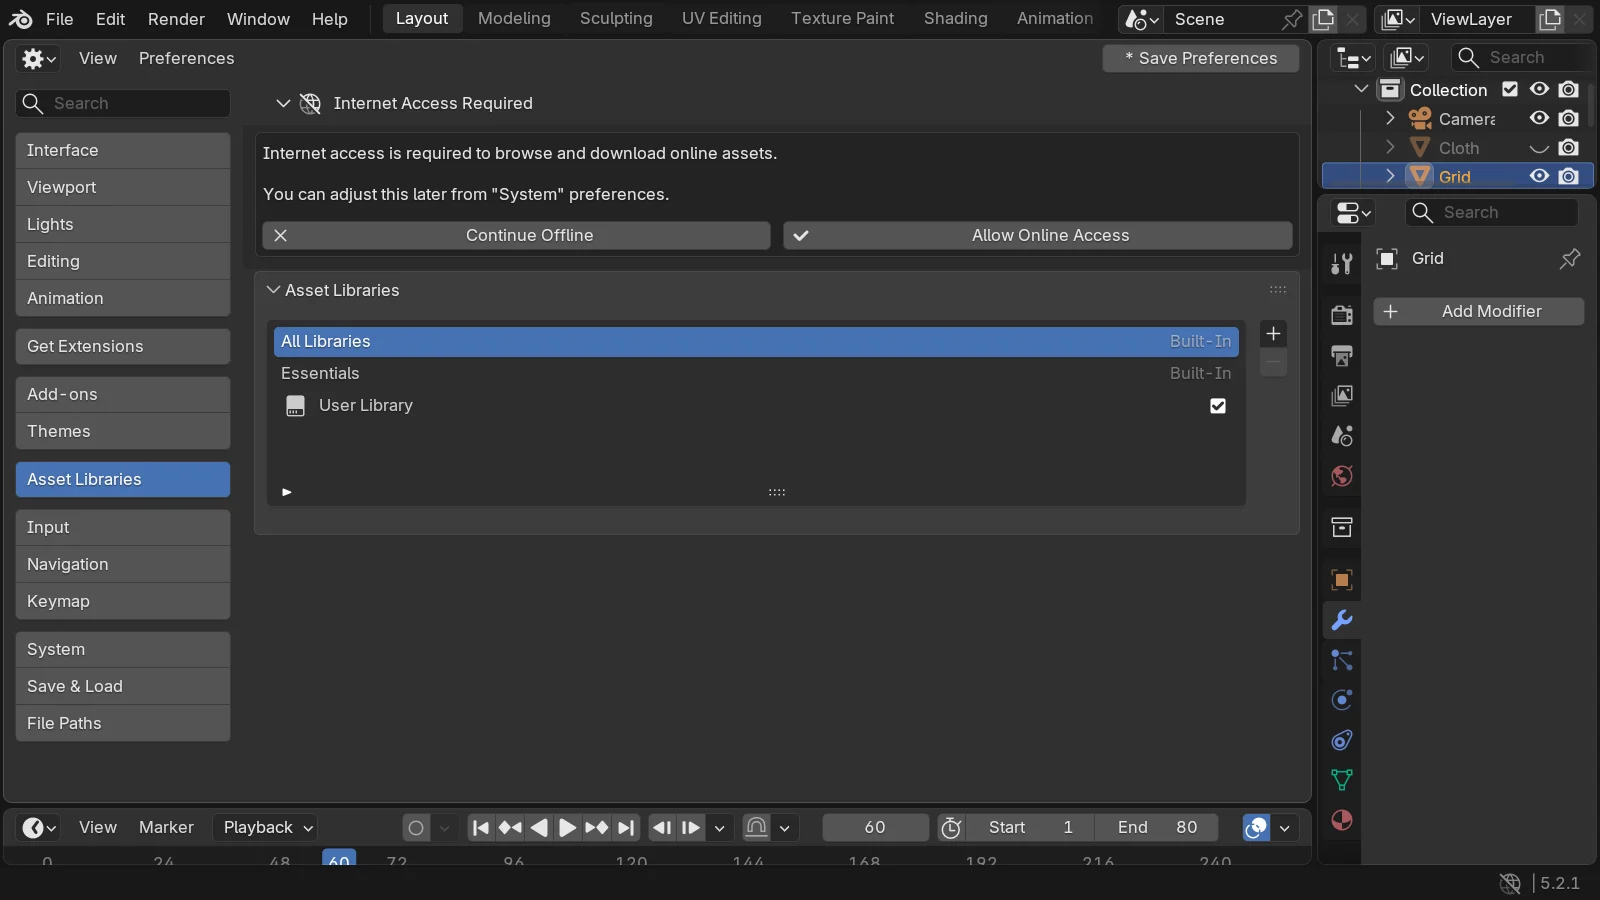 Figure 5. Edit > Preferences > Asset Libraries. Online access has not been allowed yet, so the Internet Access Required box shows at the top (Blender screenshot)
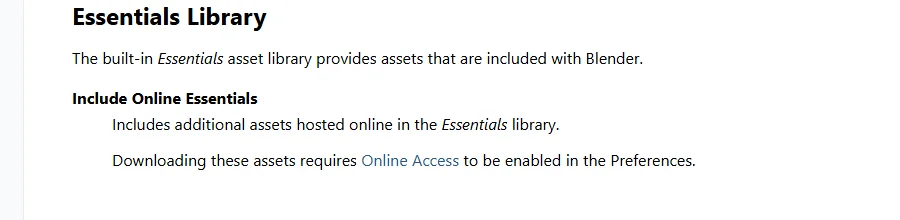 Figure 6. The Essentials Library entry in the manual (Blender 5.2 manual screenshot)
You can switch online access off and on later with Allow Online Access in the Network group of Preferences > System. The manual also notes that only add-ons that follow this setting keep to it; Blender cannot stop third-party add-ons from going online.
Adding your own library. Click + to the right of the Asset Libraries list. For a folder on your PC, fill in Path; for a library someone hosts online, fill in URL. Collect the textures and models you download in one folder and register it as a library, and from then on you just drag them in from the Asset Browser. An example of registering a purchased asset pack this way is in Poly Nature low-poly nature scenes.
Import Method. Each library has a default way of bringing assets into your scene:
| Method | What it does | When |
|---|---|---|
| Link | Points to the original (read-only); changes to the original follow | When several files share the same asset |
| Append | Puts a copy inside the file, cut off from the original | When you want to edit it freely |
| Pack | Links, then immediately packs it into the file | When you hand over a single self-contained file |
The manual says Link is not supported for online libraries. A file cannot keep pointing at an original on the internet, so online assets come in by Append or Pack.
6. Keeping a record
CC0 assets do not need credit, but writing down where they came from is still wise. Months later, when you publish a video or hand the file to someone, you may not remember which license a texture had. Think of it as keeping receipts.
Follow along:
- Make a
texturesfolder inside your project folder and put downloads there. - In the same folder, make
sources.txtand add one line per asset, for example:oak_planks_2k | Poly Haven | CC0 | download address - If you used a CC BY asset, credit the author and license in the video description or at the end of your post.
If materials turn pink in Blender after you move texture files into the folder, Blender cannot find the images because the paths changed. The fix is in When materials turn pink. When you hand a file to someone, File > External Data > Pack Resources packs the images inside the .blend so paths cannot break.
Copyright when you mix in AI-made textures or models is covered in AI content and copyright. Licenses to check when buying add-ons and assets are in Before you buy Blender add-ons.
Exercises
- Download one "Wood" texture each from Poly Haven and ambientCG at 2K, and list which maps (Color, Roughness, Normal and so on) each set contains.
- For each of these, write whether you can use it in a monetized YouTube video and whether you must give credit: ① CC0 ② CC BY ③ CC BY-NC
- Make a
sources.txtin a current project and list every outside asset you use.
Common mistakes and fixes
| Symptom | Cause | Fix |
|---|---|---|
| Online assets do not appear | Online access not allowed | Allow Online Access in Preferences > Asset Libraries, and check Include Online Essentials |
| Downloaded textures are too heavy | Downloaded a large size such as 8K | Re-download at 2K; use 4K only for close-up objects |
| Materials look pink | Texture file paths changed | Find the paths again, or Pack Resources |
| An asset in a monetized video was non-commercial | Missed the NC label | Read the license line before downloading; swap for CC0 or a commercial-use asset |
| Can't remember where something came from | No record kept | Add a line to sources.txt with every download |
Summary
License first (CC0 is easiest, avoid NC for paid work), Poly Haven and ambientCG are CC0, Blender 5.2 gets online Essentials with Allow Online Access, and keep a sources.txt record.
References
- Poly Haven, Asset License: https://polyhaven.com/license
- ambientCG, License: https://docs.ambientcg.com/license/
- Blender 5.2 release page: https://www.blender.org/download/releases/5-2/
- Blender 5.2 developer release notes, Assets: https://developer.blender.org/docs/release_notes/5.2/assets/
- Blender 5.2 manual, Asset Libraries: https://docs.blender.org/manual/en/5.2/editors/preferences/asset_libraries.html
- Blender 5.2 manual, System (Network, Allow Online Access): https://docs.blender.org/manual/en/5.2/editors/preferences/system.html
- Creative Commons licenses: https://creativecommons.org/licenses/
- Read next: Blender 5.2 LTS new features, HDRI world lighting, PBR materials
- Image license: Figures 1–4 and 6 are parts of official pages shown for explanation; Figure 5 is a Blender screenshot.