Connecting the official Blender MCP to Claude Code: from one command to your first scene summary
Follow along as you register Blender Lab's official MCP server in Claude Code, which works in the terminal, with one command, have it summarize an open Blender file, and get a preview render.
한국어English
ON THIS PAGE
- 011. Two ways to handle Blender with Claude Code
- 022. What you need
- 033. Downloading the server source and installing it in advance
- 044. The one-line registration command
- 055. Checking the connection
- 066. Your first chat: summarizing the open file
- 077. Getting a preview render
- 088. When the output is long or the server starts slowly
- 09Practice
- 10Common mistakes and fixes
- 11In one line
- 12Read next
- 13References
Based on: Claude Code 2.1.310, Blender 5.2 LTS (screenshots from 5.2.1, English interface, default shortcuts), the Blender Lab MCP server and add-on 1.0.3, and the official Claude Code MCP documentation. Checked in October 2026. All images are real terminal and Blender screens and renders. One line showing a save path in the terminal image is hidden.
Claude Code is an AI assistant that works in the terminal. It reads and writes files, runs commands, and looks at the results. If you attach the official MCP server made by Blender Lab at the Blender Foundation, it can also look directly into the Blender scene you have open. Type "Summarize the open file" in the chat, and Claude Code asks Blender through the MCP tools and answers with a table.
When you finish this guide, you will be able to do the following.
- Register the official Blender MCP server with the
claude mcp addcommand. - Choose a registration scope (local, project, or user).
- Check the registration status with
claude mcp list,claude mcp get, and/mcp. - Have Claude Code summarize a Blender file and make a preview render.
- Know where to fix things when the connection fails or is slow.
If installing Claude Code is new to you, see Getting started with Claude Code first. If installing the add-on on the Blender side is new to you, see Installing the official Blender MCP first. This guide assumes both are done.
1. Two ways to handle Blender with Claude Code
There are two ways Claude Code can drive Blender.
| Way | How | Good for | Comparison |
|---|---|---|---|
| Script way | Write a Python file and run it in Blender without a screen using blender --background --python | Repeating the same task on many files, automating renders | Writing an order form and handing it to the kitchen |
| MCP way | Ask and instruct the Blender you have open through the MCP server | Inspecting the open scene, fixing things while watching the screen | Calling the kitchen to ask how things are going right now |
The script way is covered in Connecting Blender and AI and Blender Python automation. This guide is about the MCP way. The official server also has tools that link the two ways. Tools whose names end in _for_cli start a separate Blender without a screen, open a file, and answer. The full tool list is in Trying the 26 tools of the official Blender MCP.
2. What you need
| What you need | How to check | Note |
|---|---|---|
| Claude Code | claude --version in the terminal | This guide was checked with 2.1.310 |
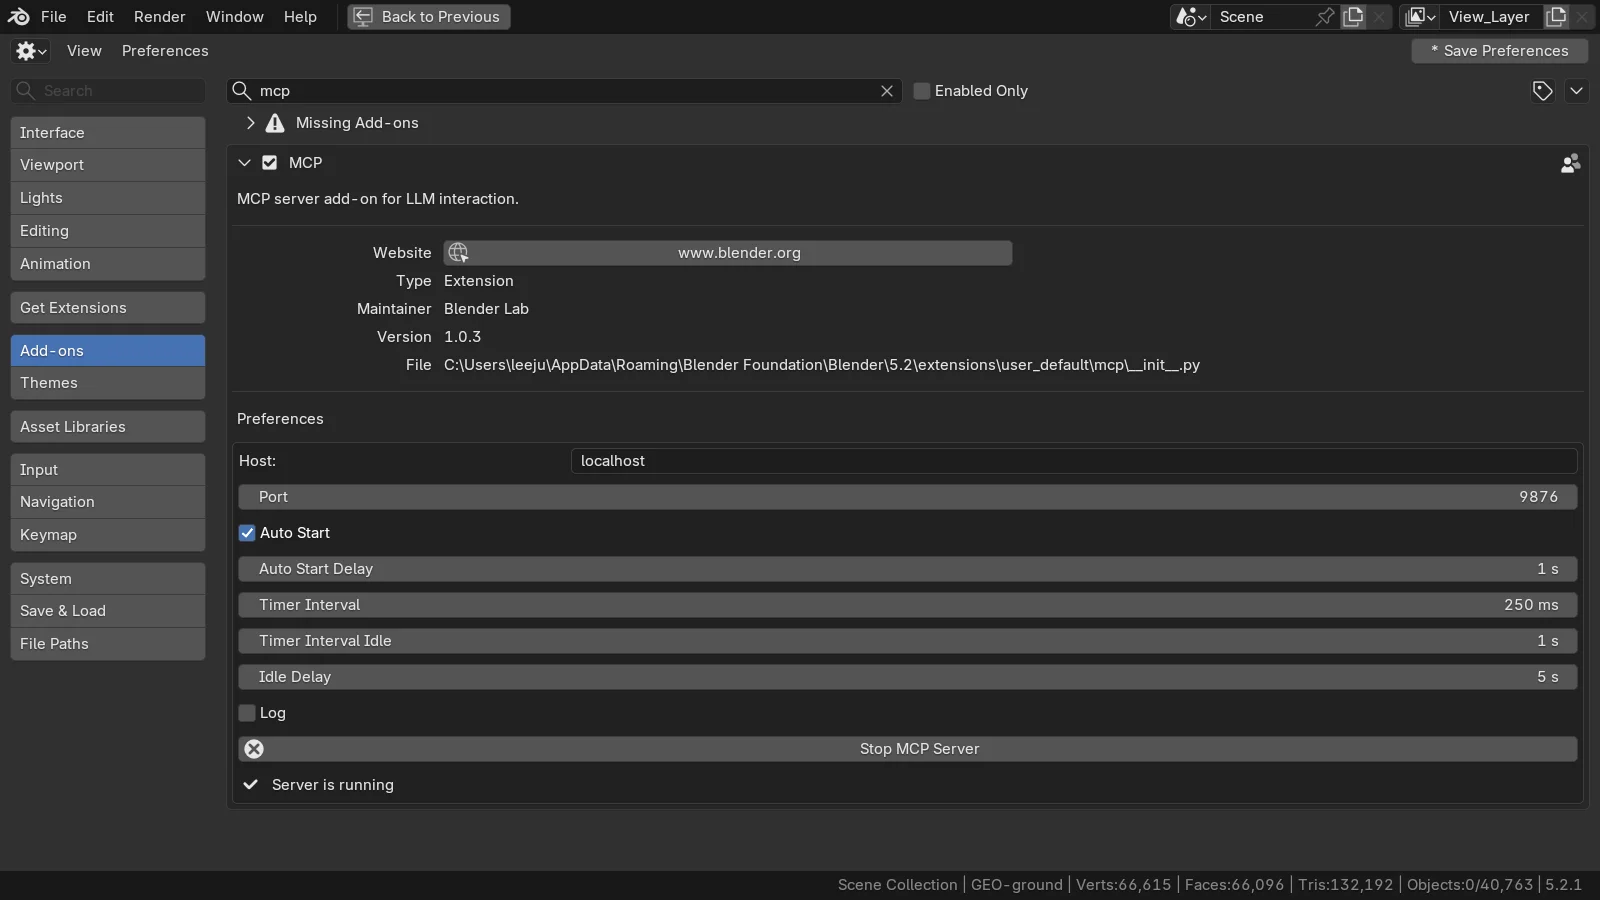
| Blender 5.1 or later + the MCP add-on | Server is running under MCP in Preferences Add-ons | Section 4 of the installation guide |
| uv | uv --version in the terminal | A tool that runs a Python program together with the parts it needs |
| The official server source | The C:\blender_mcp\mcp folder | Downloaded in section 3 below |
If you do not have uv, paste the official install command into PowerShell. When the installation finishes, close the PowerShell window and open a new one.
powershell -ExecutionPolicy ByPass -c "irm https://astral.sh/uv/install.ps1 | iex"
3. Downloading the server source and installing it in advance
Starting state: start in a new PowerShell window. Git must be installed.
Follow along:
- Download the source right under the C drive, as in the official wiki (Setup).
cd c:\
git clone https://projects.blender.org/lab/blender_mcp.git
- Go into the
mcpfolder inside the downloaded folder and install the parts once.
cd C:\blender_mcp\mcp
uv sync
The downloaded folder is about 23 MB (4,783 files), and about 16 MB of that is the bundled Blender manual and Python API documentation. uv sync installs about 55 MB of parts on top of that. On my PC, uv sync took 57 seconds and reinstalling took 80 seconds.
Do not skip step 2. Claude Code waits for an MCP server to start within a set time. If that time passes while uv is downloading parts on the first run, Claude Code shuts the server down and treats it as a "connection failure." When I skipped this step on my PC and registered right away, Claude Code could not reach the server in the first chat because of a "30-second connection timeout." On top of that, the installation was left half done, so the server also disconnected right away on the next run. If this happens, reinstalling with the command below fixes it.
cd C:\blender_mcp\mcp
uv sync --reinstall
4. The one-line registration command
The official syntax for registering an MCP server in Claude Code is this.
claude mcp add [options] <name> -- <command to run> [arguments for the command...]
The -- (two minus signs) in the middle matters. What comes before -- are options that Claude Code reads, and what comes after -- is passed on as is as the command that starts the server. Without this separation, Claude Code mistakes the server's options for its own. Compared to a parcel, what comes before -- is the shipping label, and what comes after is the item inside the box.
Putting the server command from the official wiki (uv --directory C:\blender_mcp\mcp run blender-mcp) into this syntax gives the following. You choose the scope option (-s) in the next section.
claude mcp add blender-lab -- uv --directory C:\blender_mcp\mcp run blender-mcp
4-1. Choosing a scope
When you register, -s (or --scope) decides where you will use this server.
| Scope | Where it is used | Where it is saved | When it fits |
|---|---|---|---|
local (default) | In the current folder, only for you | The user settings file (~/.claude.json) | When you want to try it briefly in just one project |
project | In the current folder, for everyone working with you | .mcp.json inside the folder | When you set aside a Blender work folder |
user | In all your folders | The user settings file (~/.claude.json) | When you want to call Blender from anywhere |
At first, I recommend making one Blender work folder and registering with the project scope. The tools that drive Blender turn on only in that folder, so Claude Code has no chance to touch Blender while you do other work. It is like putting a lock only on the workshop door, not on the whole house.
4-2. Registering
Starting state: after finishing section 3, start in a new PowerShell window.
Follow along:
- Make a work folder and go into it (any name works).
mkdir C:\blender-work
cd C:\blender-work
- Register with the command below. The server name here is
blender-lab.
claude mcp add -s project blender-lab -- uv --directory C:\blender_mcp\mcp run blender-mcp
- Check what you registered.
claude mcp get blender-lab
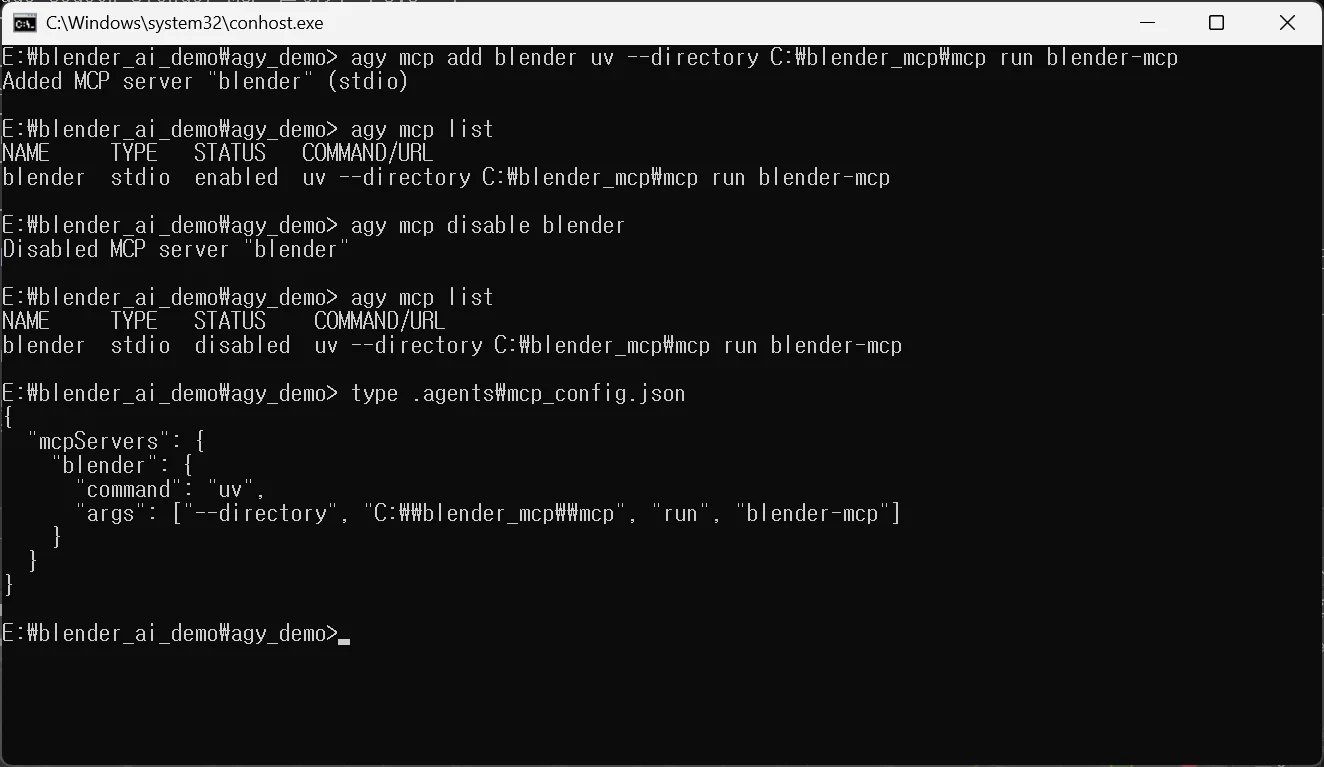
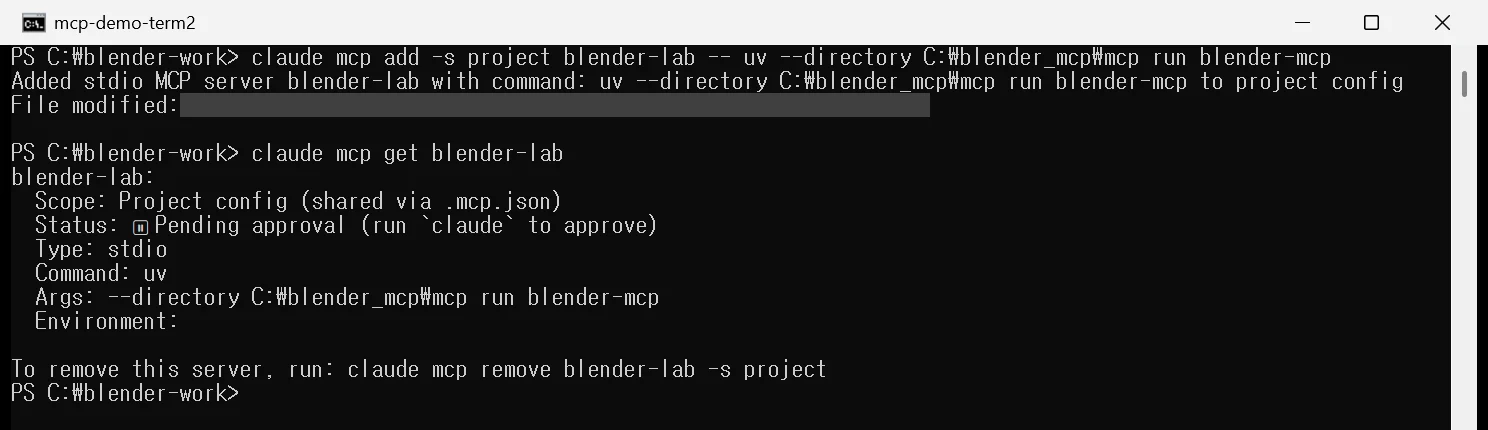 Figure 1. Registering and checking.
Added stdio MCP server blender-lab … below the first line, the scope Project config in the middle, and the status Pending approval below it. On Korean Windows, backslashes appear as ₩. One line with the save path is hidden (PowerShell screenshot)
When you register with the project scope, a .mcp.json file appears in the folder. It contains the following.
{
  "mcpServers": {
    "blender-lab": {
      "type": "stdio",
      "command": "uv",
      "args": ["--directory", "C:\\blender_mcp\\mcp", "run", "blender-mcp"]
    }
  }
}
A status of Pending approval is normal. A settings file inside a folder could have been put there by someone else, so the first time you run Claude Code in that folder, it asks whether it may start this server. You allow it in the next section.
If you want to use it everywhere: register with -s user instead of -s project. In that case you do not need to make a folder, and there is no pending approval.
4-3. A common snag with option order
To pass an environment variable to the server, use -e (or --env). But if you write the server name right after -e, you get an error.
> claude mcp add -s project -e BLENDER_MCP_PORT=9886 blender-lab -- uv ...
Invalid environment variable format: blender-lab, environment variables should be added as: -e KEY1=value1 -e KEY2=value2
This happens because Claude Code read the name as an environment variable too. The official documentation also says to put another option between --env and the server name. Put -e first and -s after it, as below.
claude mcp add -e BLENDER_MCP_PORT=9886 -s project blender-lab -- uv --directory C:\blender_mcp\mcp run blender-mcp
BLENDER_MCP_PORT is the port number the official server uses to call Blender. If you use the default 9876, you do not need it. Match it to the same number only when you have changed the port on the Blender side.
5. Checking the connection
5-1. The first run and approval
Follow along:
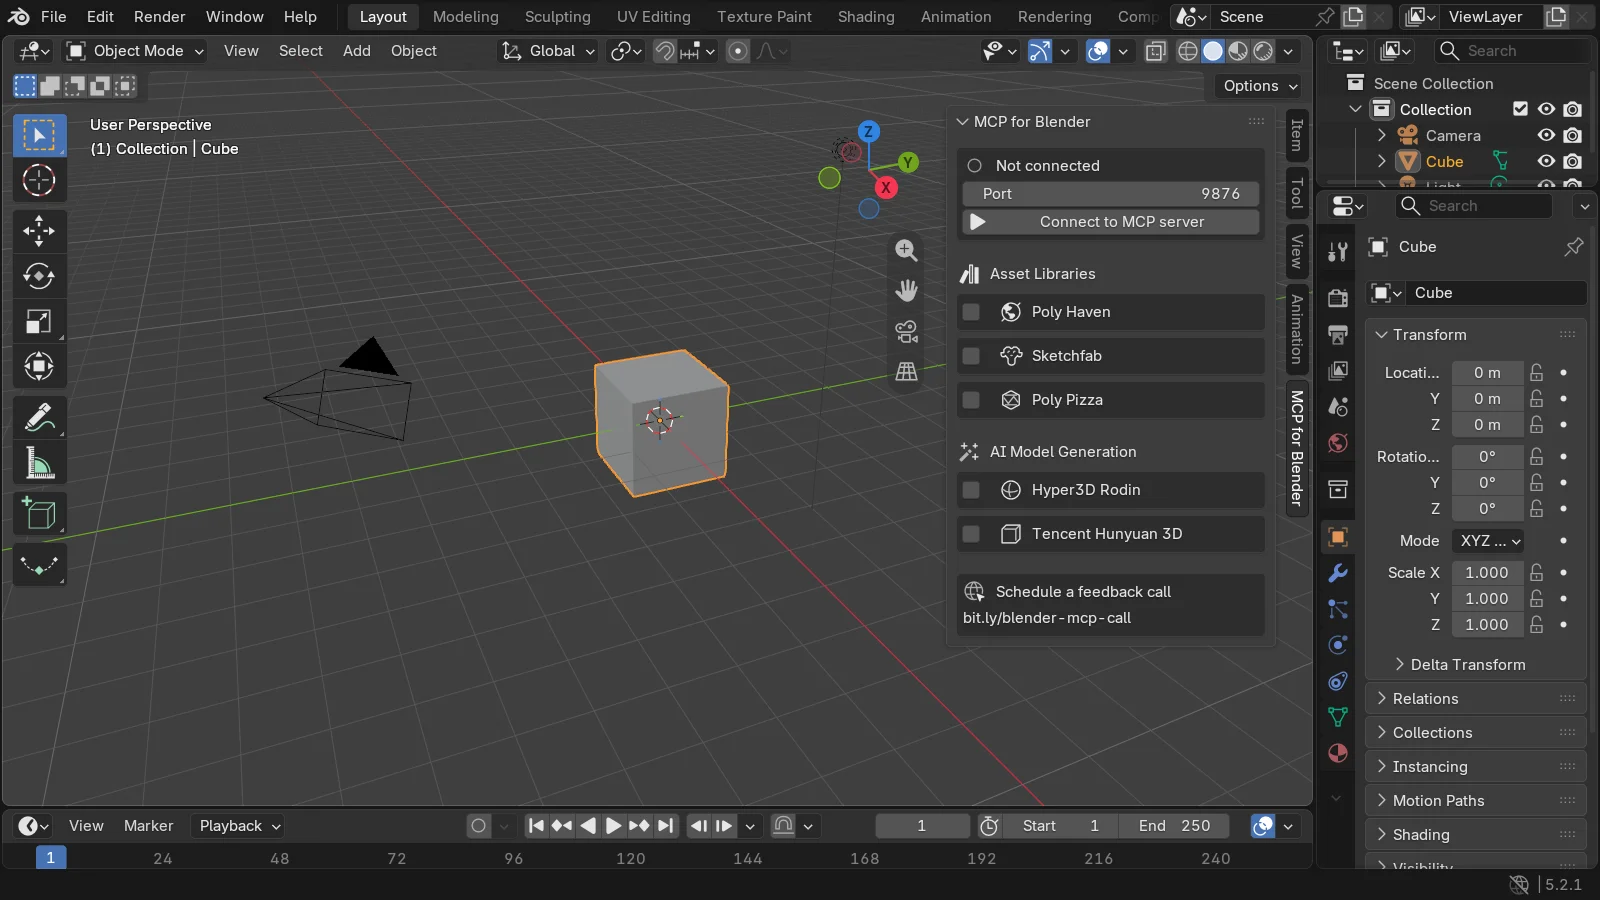
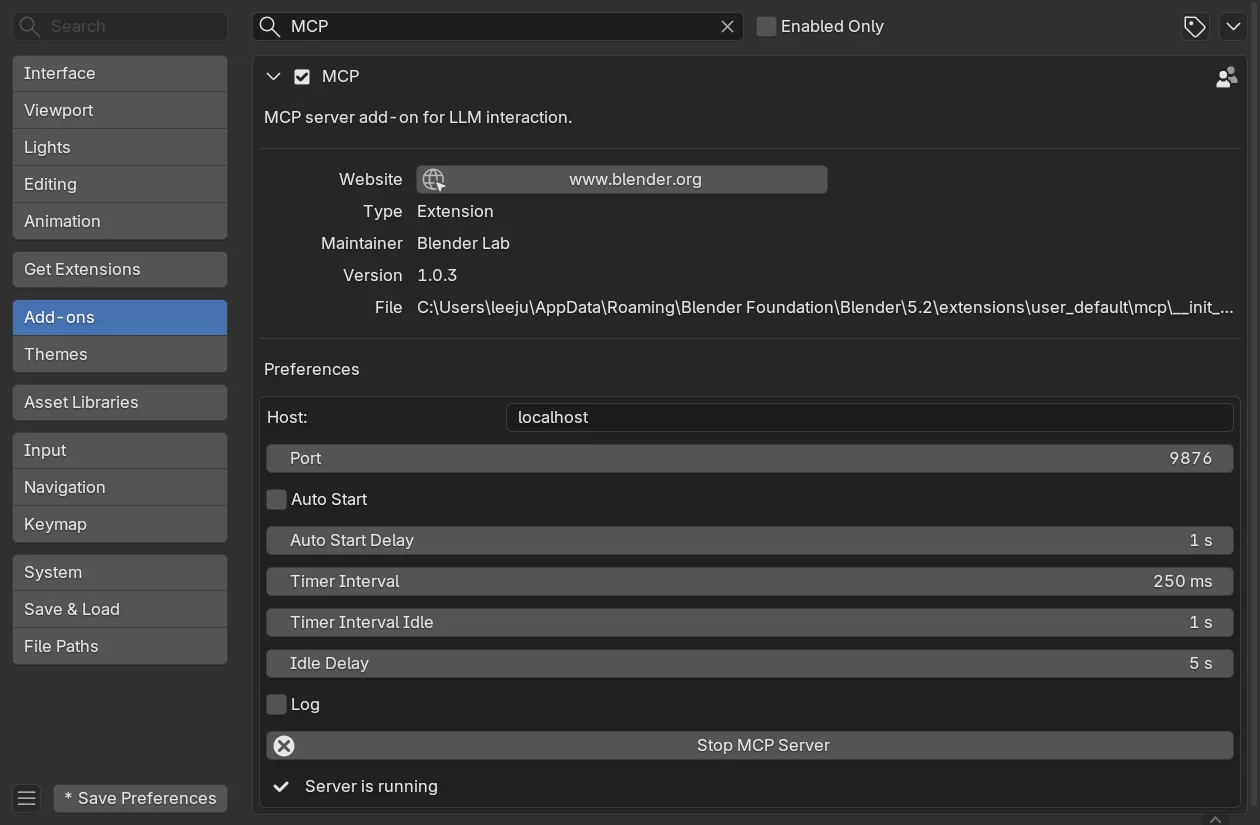
- Start Blender and check Server is running in the MCP add-on.
- Run
claudein the work folder from section 4-2. - When a prompt asks whether to use the servers in this folder's
.mcp.json, allowblender-lab. - Type
/mcpin the chat. In the server list, see whetherblender-labis connected. The official server 1.0.3 exposes 26 tools.
In the terminal, you can also check the status with claude mcp list. The list shows every server you have registered. Here is just the Blender line (before approval).
blender-lab: uv --directory C:\blender_mcp\mcp run blender-mcp - ⏸ Pending approval (run `claude` to approve)
What "Connected" means: even when this line changes to ✔ Connected after approval, it means the server program has started. It does not mean it has reached Blender. The official server starts and exposes its 26 tools even when Blender is closed. Only when a tool is actually called does it call Blender. Without Blender, you get an answer like this.
Error executing tool get_blendfile_summary_datablocks: Cannot connect to Blender at localhost:9876. Ensure Blender is running with the MCP addon enabled and the server started.
If you see this message, start Blender and check the server status. The phone line is connected, but nobody is picking up on the other end.
6. Your first chat: summarizing the open file
Starting state: open the official demo file Scattering Pebbles (pebble_scattering.blend, from the blender.org demo files page, CC0) in Blender. Continue in the Claude Code session you opened in section 5-1.
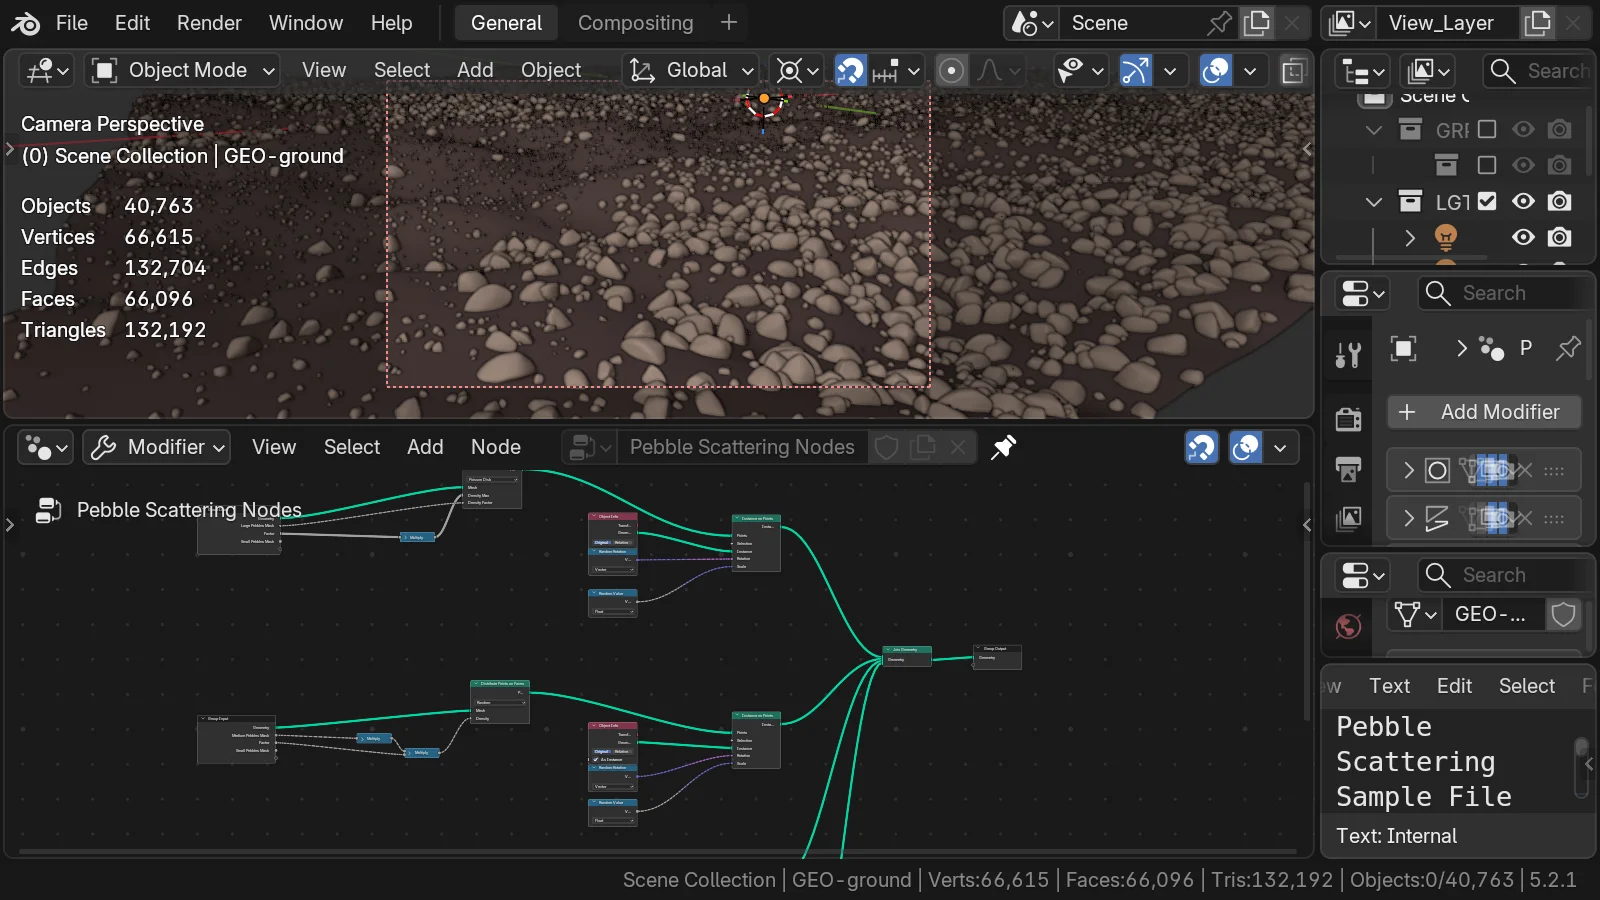 Figure 2. Blender with the demo file open. Claude Code reads the scene in this window through MCP (Blender screenshot)
Follow along:
- Send the following in the Claude Code chat.
Summarize the Blender file that is open right now. Give the number of objects, materials, and collections, and the render engine, in a short table.
- When it asks permission to use a tool, see what the tool does and allow it. A read-only summary tool does not change the file.
Here is the answer I actually got. I asked in Korean, so the question above and the answer below are translated into English.
Here is a summary of the Blender file that is open now.

| Item | Value |
|---|---|
| Objects | 12 |
| Materials | 2 |
| Collections | 3 |
| Render engine | Cycles |

- There is one scene, `Scene`.
- Of the 12 objects, 8 are meshes, 1 is a camera, and 3 are lights.
- The workspaces are `General` and `Compositing`, and `General` is open now.

The code execution I tried first was denied, so I looked it up with a summary tool that only reads the file contents. I did not change the file.
Pay attention to the last line. In this chat, only read tools were allowed. Claude Code first tried to use the code execution tool (execute_blender_code), and when it was blocked, it switched to the read-only summary tool (get_blendfile_summary_datablocks) to answer. This shows that the tools you allow decide what the AI can do.
7. Getting a preview render
Next, let's have it make an image. Rendering is Blender calculating the scene and turning it into an image.
Starting state: continue with the same file as in section 6. The demo file's render engine is Cycles. To see results quickly, change Render Engine to EEVEE in the Render tab. The difference between the engines is in EEVEE vs. Cycles.
Follow along:
- Send the following to Claude Code.
Render the open Blender scene as a small preview image, save it as preview.png, and tell me the path where it was saved.
- When it asks to use the render tool (
render_thumbnail_to_path), allow it. - Open the image at the path given in the answer.
 Figure 3. The image Claude Code made with the render tool. This is a reduced version of the result, which came out at its original size of 1920×1080 (Blender render, EEVEE)
Two things become clear here. This is the first part of the answer I actually got (translated from Korean).
The preview render worked, but the file was saved in a temporary folder, not the work folder you asked for.
| What you learn | Details | What to do |
|---|---|---|
| Save location | The official render tool uses only the file name from the path it is given and saves to the blender_mcp folder inside Blender's temporary folder | Take the file from the path in the answer and move it. The temporary folder may be cleared when you close Blender, so move it right away |
| Image size | The tool description says "a small, low-quality preview," but in a Blender with its window open, it came out at the scene's set size (1920×1080) | If you want it smaller, first lower the resolution % in the Output tab |
Claude Code does not freely touch files outside the folder it was first opened in. So for moving the image from the temporary folder to the work folder, it asks for your permission or tells you to do it yourself.
8. When the output is long or the server starts slowly
If the text an MCP tool returns is too long, Claude Code warns you. According to the official documentation, it warns when tool output goes over 10,000 tokens and cuts it off at 25,000 tokens by default. A token is the unit AI uses to count text; think of it as a bundle of a few characters. The details are in Tokens and the context window.
In a scene with hundreds of objects, asking "list all the objects" quickly makes the output long. In the official Classroom demo (985 objects), the result of just one object list tool went over 90,000 characters. In that case, narrowing the question comes first.
| Situation | What to do |
|---|---|
| The output gets cut off | Narrow the scope, such as "only the lights" or "only the ones with chair in the name" |
| You really need a long output | Raise the limit, such as MAX_MCP_OUTPUT_TOKENS=50000, and run claude (in PowerShell, first run $env:MAX_MCP_OUTPUT_TOKENS=50000) |
| The server starts slowly and the connection fails | Finish uv sync from section 3 first. If it is still slow, give a longer wait time (MCP_TIMEOUT, 30 seconds by default) than the default, such as MCP_TIMEOUT=120000 (2 minutes). In PowerShell, run $env:MCP_TIMEOUT=120000 and then run claude |
Practice
- Run
claude mcp get blender-labin the work folder and write down the Scope and Status lines. - With Blender closed, ask Claude Code to "summarize the open file," and see which error message comes back. Then start Blender and ask again.
- In the Pebble file, ask "list the names of the camera and lights in a table," and compare the answer with the Outliner to see whether it is right.
Common mistakes and fixes
| Symptom | Cause | Fix |
|---|---|---|
Invalid environment variable format appears | The server name was written right after -e | As in section 4-3, put -e first and another option before the name |
| The status stays Pending approval | The project scope server has not been allowed yet | Run claude in that folder and allow it |
The Blender server is not in /mcp | Claude Code was run in a different folder | project and local scopes are visible only in the folder where you registered. To use it everywhere, use -s user |
| A connection timeout happens in the first chat | uv takes time for its first installation | Run uv sync from section 3 first |
| The server disconnects as soon as it starts | The first installation was cut off midway and parts are missing | uv sync --reinstall |
Cannot connect to Blender at localhost:9876 | Blender is closed or the add-on server has stopped | Start Blender and check Server is running |
| A server with the same name is in two scopes | Registered with the same name in user and project | Give them different names, or remove one with claude mcp remove <name> -s <scope> |
| The render image is not in the work folder | The render tool saves to Blender's temporary folder | Take it from the path in the answer and move it |
The same name in two scopes is easy to confuse. On my PC, with blender already in the user scope, I registered the same name in the project scope too, and claude mcp get blender showed the user entry. That is why this guide uses a different name, blender-lab.
In one line
Install in advance with uv sync → claude mcp add -s project blender-lab -- uv --directory C:\blender_mcp\mcp run blender-mcp → run claude in the folder and allow it → start with read-only questions. In the next guide, Trying the 26 tools of the official Blender MCP, you call the server's tools one by one.
Read next
- Getting started with Claude Code: from install to your first conversation with an AI coding assistant that works in the terminal
- Installing the official Blender MCP
- Connecting MCP servers: how to plug tools into an AI app
- Trying the 26 tools of the official Blender MCP
- The official Blender MCP vs. the community MCP for Blender
- Connecting Blender and AI: 3D work through MCP and scripts
References
- Claude Code Docs, Connect Claude Code to tools via MCP: https://code.claude.com/docs/en/mcp
- Blender Lab, MCP Server: https://www.blender.org/lab/mcp-server/
- Blender Lab, blender_mcp repository and Setup wiki: https://projects.blender.org/lab/blender_mcp , https://projects.blender.org/lab/blender_mcp/wiki/Setup
- uv installation guide: https://docs.astral.sh/uv/getting-started/installation/
- Blender demo files (Scattering Pebbles, Classroom, CC0): https://www.blender.org/download/demo-files/
- Images: real PowerShell and Blender 5.2.1 screens and a Blender render (EEVEE). The scene is the Blender demo file Scattering Pebbles (CC0)